How To Build a Face Filter App: Android
Since the dawn of TikTok, augmented reality effects went mainstream. There are now few social apps that don’t use them. But creating such technology from the ground up takes a lot of time and money, so what should a cash-strapped company do if it wants AR filters for its products? In this article, we will show a simple way to launch a face filter app on Android.
[navigation]
TL;DR:
- Face filters are used in social media, video conferencing, wellness, games, entertainment, and eCommerce;
- To develop a face filter app, decide on your target audience, monetization model, and core features first;
- Integrating a face filter SDK will help you save time and money when launching - see more below.
Face filter app for Android - what kind?
“Face filter app for Android” is rather vague. So the first step in the process should be to decide exactly what you are going to develop. AR masks have many uses:
- Social media. TikTok has recently dethroned Google as the most visited place on the Internet while its competitors (Chingari, Likee, Instagram, etc.) are trying to catch up. In social networks, video rules and it has to have AR filters to succeed.
- Video communications. Augmented reality is a major trend in video communication, whether it is a remote meeting of a sales team or a call between family members. In the former case, AR removes distractions and protects privacy. In the latter, it is just a fun addition.
- Wellness. The wellness industry has found original ways to use augmented reality effects. For example, the creators of FaceYoga app implemented a “before and after” feature that showed the predicted results of the training that the app offers.
- Games. AR is a powerful addition to games, especially social ones. It can provide cool avatars, serve as another monetization option, or even be used as a touchless UI.
- Entertainment. Background subtraction replaces chromakey, beautification saves time on doing makeup, and masks help add flair to the presentation.
- Virtual try-on. In times when people have to stay home, retail suffers. Some companies, however, persevered or even thrived in the new conditions. They attribute their successes to new technologies. AR try-on can be built into face filter apps for Android and iOS. This means people can still purchase the products they want without going to physical stores.
Background replacement is useful in social media
How face filters benefit you
AR filters weren’t a must-have feature only a couple of years ago. Now they are expected in many apps of the abovementioned types. Here’s what they can do for you:
- Incentivize user-generated content. The more videos users upload, the better, as people will binge content and enjoy your app more. Even a branded filter on a third-party app (e.g. Snapchat) is a major popularity booster.
- Alleviate “Zoom fatigue”. Since remote work overtook the in-person one, people started complaining about the exhaustion they feel after many long online meetings. AR helps deal with this problem.
- Increase privacy and security. With the right tools, the users will be able to save themselves some embarrassment (e.g. from showing a messy room at a professional meeting) or prevent sharing too much info that stalkers can use.
- Teach people better. eLearning apps have long been using AR filters and effects to improve learning outcomes. Masks and stickers help establish rapport with younger learners and can better demonstrate certain processes.
- Boost sales. In eCommerce, AR-powered editing apps have become the new norm. Through live shopping, virtual try-on, and other technology trends, businesses bring more customers and retain them for longer.
Who are your users?
This isn’t really a separate step, rather an extension of the previous one. You need to decide on your target audience and the app’s positioning.
Knowing whom your app will serve two major purposes. Firstly, it will help during the development by guiding you towards the right design decisions - making the UI attractive to your future users. Secondly, it will help market the product once it’s released.
Positioning is more about picking the specific niche and the message that your app sends. It helps your product stand out and can even be a competitive advantage. For example, Tinder and Bumble are both dating apps but the latter is the place where women initiate the conversation.
You might not get it right the first time and that’s fine. Instagram used to be a social check-in app, after all.
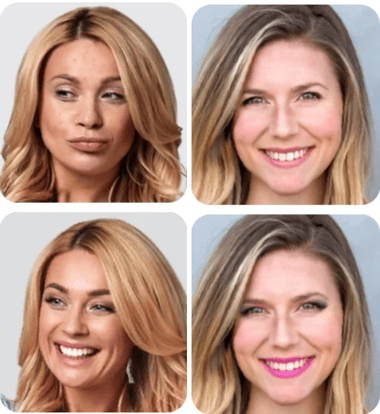 Beautification is a popular photo editing feature
How will the app earn?
The monetization model is a core element of any commercial face filter app for Android, iOS, and other platforms. The most common ones can be used in pretty much any piece of mobile software.
- Freemium. Most features are free. However, if the users want to remove restrictions or use advanced functionality, they will have to pay. For example, Tinder uses this model.
- Paid. Using the app costs money. Period. It can be asymmetrical as well, e.g. Pure only charges men.
- Ad-supported. The users are also the commodity. You sell advertising inside your app and the more people use it, the more you earn. With AR, you can also implement branded filter functionality and develop bespoke masks for brands willing to promote themselves on your app (Snapchat is a good example).
- In-app purchases. You can provide a platform for content creators and get a cut of the donations like TikTok does. Or you can sell additional face filters as goods.
- Free. Sometimes the app is a means to promote something else. In this case, it should be free to access the largest user base. For example, the movie “Jumanji: the Next Level” had a dedicated AR-enabled app that let people have fun and buy tickets to the movie later.
Core AR features
As there are many kinds of face filter apps for Android, we can’t list all their functionalities in one article. So we will focus on the AR-powered ones that can be used in different products.
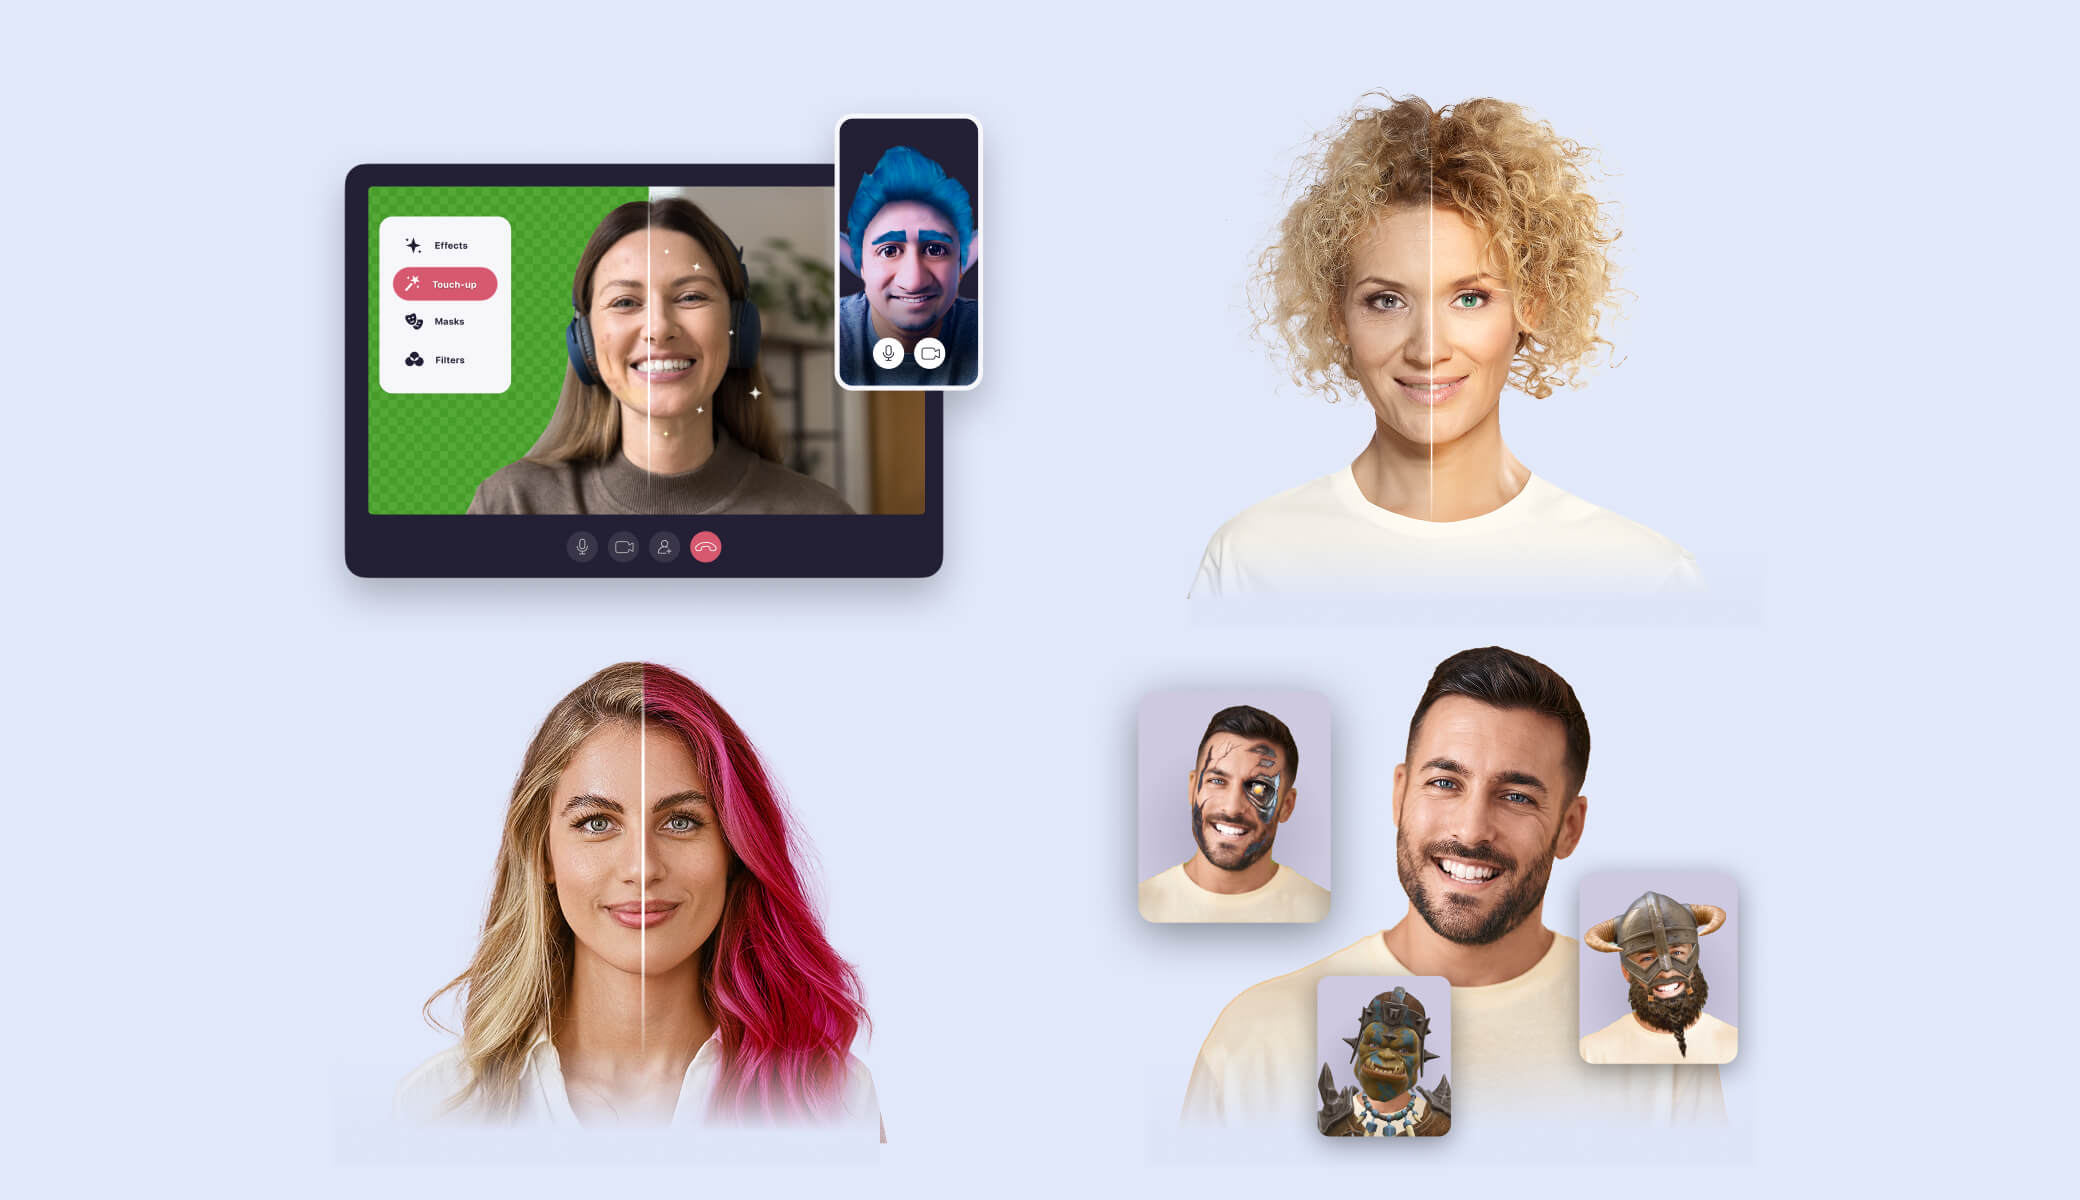
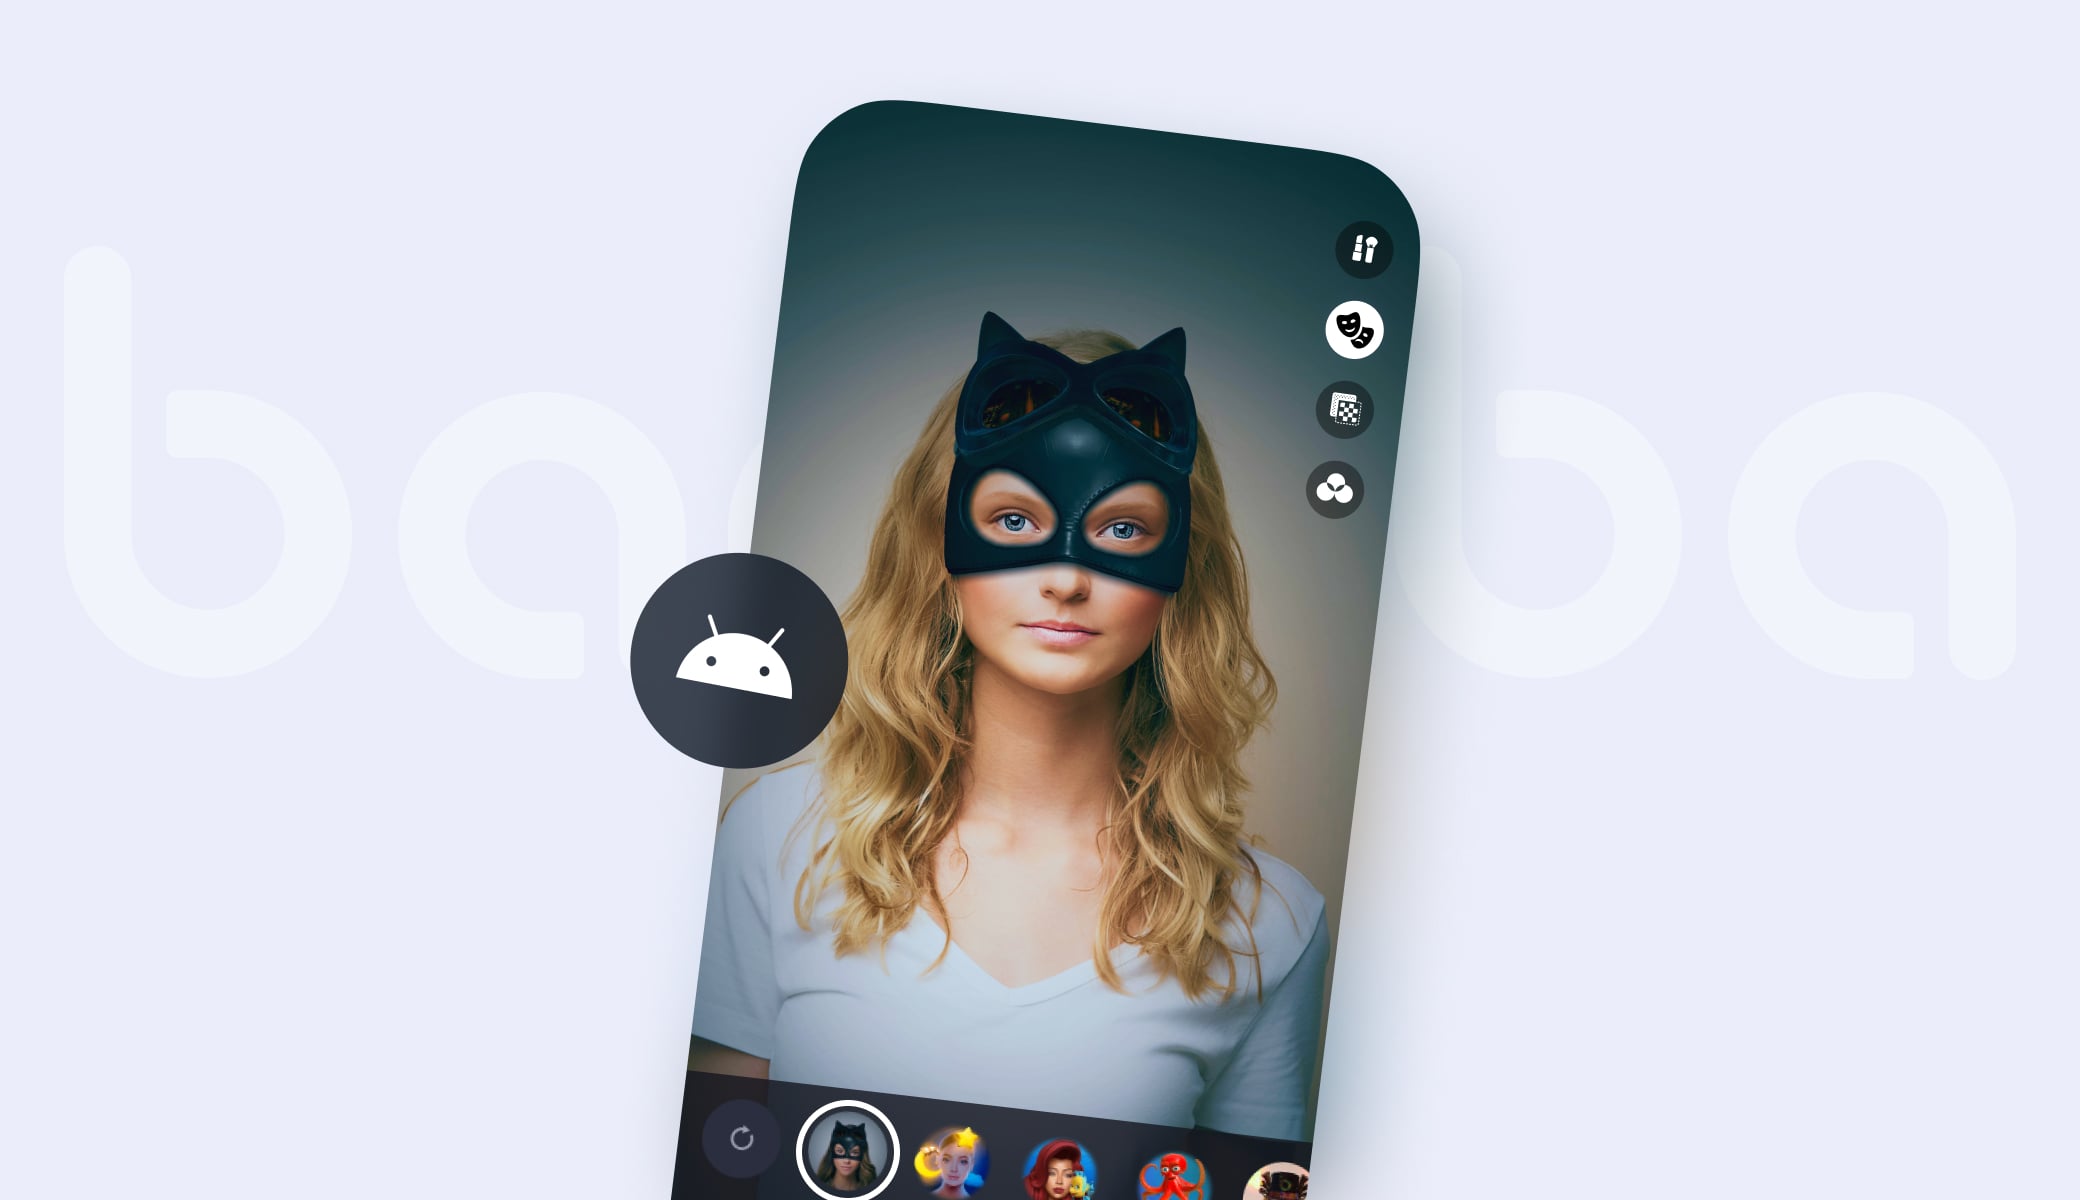
- Masks and stickers. Two- or three-dimensional objects that cover the users’ faces. For more information, feel free to read a dedicated article on stickers and masks.
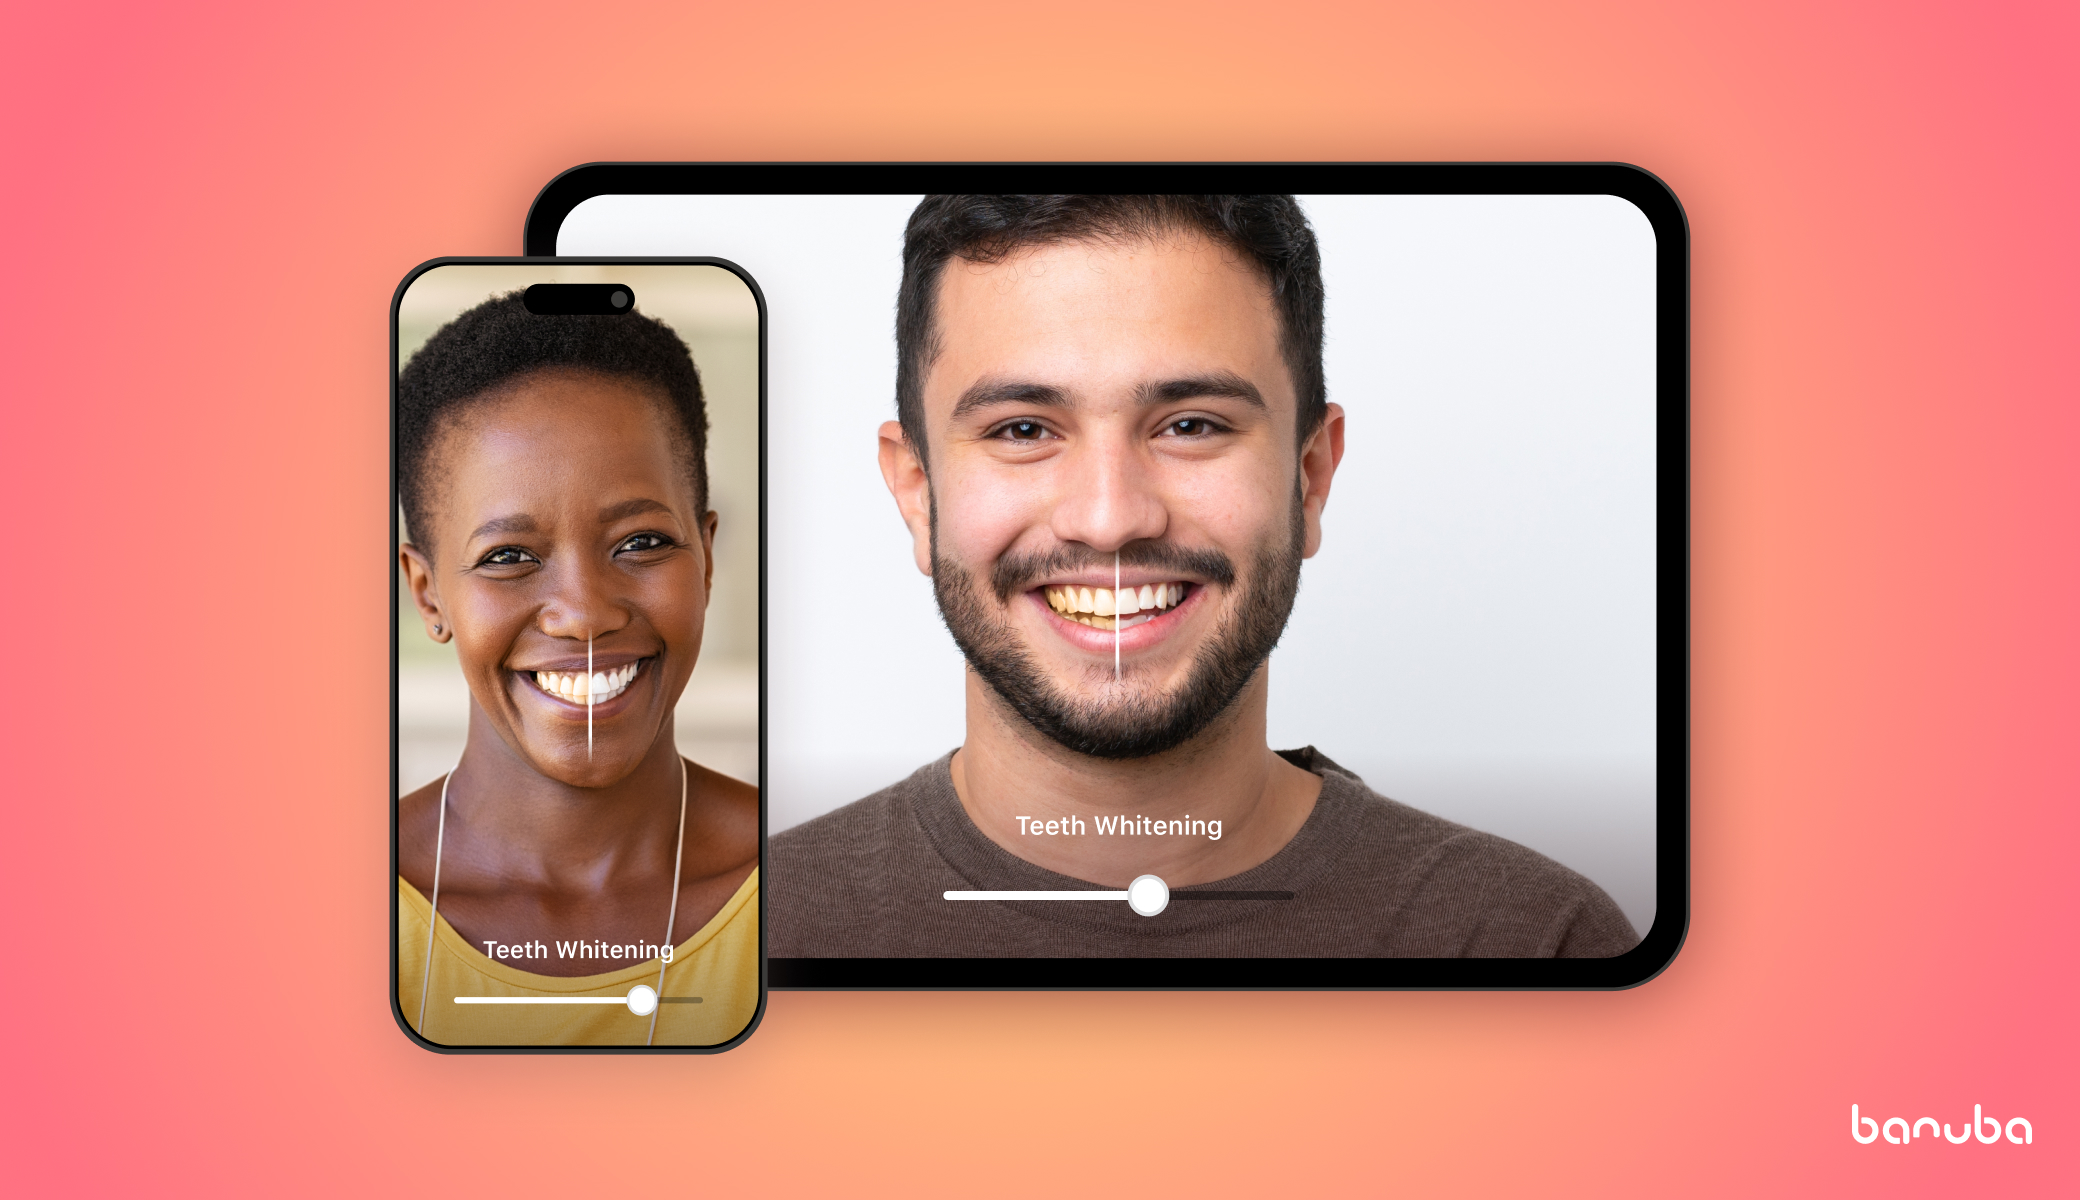
- Beautification. A group of effects that make the person look better on camera. They include whitening the teeth and scleras, removing skin defects, smoothening wrinkles, etc.
- Background replacement. Locating the people in the image/frame and replacing the rest with a selected effect. It can be just a blur, a static picture, GIF, video, or a 3D scene. This feature can replace a green screen in photo/video editors.
- Virtual try-on. Letting people test products from the comfort of their own homes. Advanced virtual objects look lifelike, react to gravity and lighting, etc. This can include makeup, contact lenses, hair coloring, and other products.
- Face morphing. Changing the size and shape of the face and its features.
- Triggers. Animated effects that start when the user does a specific action (e.g. smiles, frowns, or shows an “OK” hand sign).
- LUTs. Also known as “Instagram filters”, they change the color scheme of the entire photo/video.
- Gesture recognition. With certain facial expressions or hand gestures, the users can control the app, activate filters, or even play games.
- Avatars. 3D characters that copy users’ movements and replace users on screen.
AR face masks offer endless possibilities
Why use an SDK
Augmented reality is growing in popularity but it is still cutting-edge technology. Developing AR features from scratch requires a team of specialists in computer vision and machine learning, as well as at least 6 months (for an MVP) and enough money to keep the work going.
However, you can bypass these issues if you use an SDK. It will likely have most of the functionality you need and then some. With it, your face filter app for Android will have lower upfront costs. Finally, it will help you go to market faster. Oh, and if you decide to expand to other platforms (e.g. iOS or Web), the SDK will likely have a dedicated version for it as well.
All-in-all, this route is much more viable for companies that don’t have an R&D department.
How To Build a Face Filter App: Android
As we know Banuba Face Filters SDK best, we will use it as an example. In this case, it will be the native Android version.
This is how you can build and launch a demo face filter app for Android.
Requirements:
- Latest stable Android Studio
- Latest Gradle plugin
- Latest NDK
Step 1. Download the SDK
The first step is getting the latest version of the SDK. Sending us a message through a contact form is all it takes.
You will receive the Banuba SDK archive for Android which contains:
- Banuba Effect Player (compiled Android library project with .aar extension),
- Android project folder (src) which contains demo apps, located in src/app and src/offscreen respectively.
You will also get a trial token that goes here: src/app/src/main/java/com/banuba/sdk/demo/BanubaClientToken.java.
It is valid for 14 days, so you will have enough time to test all the features of the SDK.
Step 2. Build the demo app
You can find the guide here. It is a low-code/no-code process, so you will be able to handle it quickly and easily.
Integrating the SDK in an app
But what if you want to see how your face filter app for Android will integrate with the SDK? In this case, follow the instructions below.
- The first step is the same: getting the latest version of the SDK and the trial token. You will have two weeks to test it and see whether it’s right for you.
2. Follow the steps in the guide. Once again, this is a simple process that requires no coding:
- Copy aar files from the Banuba SDK archive into libs dir: BNBEffectPlayer/bin/banuba_sdk/banuba_sdk-release.aar => quickstart-android/libs/ BNBEffectPlayer/banuba_effect_player-release.aar => quickstart-android/libs/
- Copy and paste your client token into appropriate section of quickstart-android/client_token/com/banuba/sdk/example/common/BanubaClientToken.kt
- Open the project in Android Studio and run the necessary target using the usual steps.
Conclusion
Now you have everything you need to check out the demo or integrate the SDK with a face filter app for Android. Go ahead and try it - you have 14 days to study everything in it. And if you need any help, feel free to contact us!


