[navigation]
TL;DR:
- Banuba Face AR Unity plugin lets you create custom 3D masks;
- To create them, follow the instructions below.
About Banuba Face AR Plugin
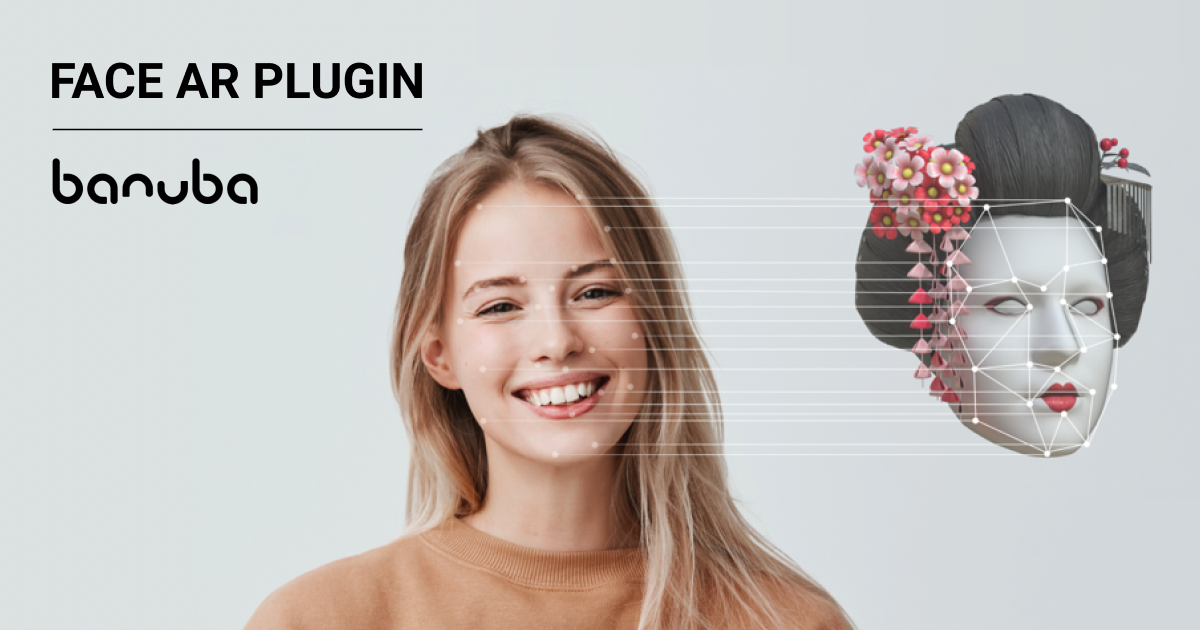
Face AR Plugin comes with a collection of ready-to-use AR face filters, however, you can design your own face masks and launch them in your apps with our Face AR extension supporting Unity3D face tracking.
The current version of Unity Face AR plugin allows enabling entertainment face filters, realistic AR try-on, live emojis, and avatars that copy user facial expressions.
5 Steps to Creating Unity Face Masks with Face AR plugin
1. Prepare source files
You can design your Unity face mask assert using any 3D editor you like and save the source files to your desktop. You’ll need the following files for import into Face AR plugin:
-
.fbx file for models
-
.png files for textures
In our example, we have a Sherlock mask featuring a hat and tobacco-pipe. The mask has 3 textures: base color, metallic and normal. It’s a simple virtual try-on mask, however, you can create more sophisticated samples with animation, 3D objects, physics, and trigger support.

2. Launch the Unity Face AR Plugin
Go to Sample scene → Faces → Face0 → Effects. The Effect folder is your main workspace to display the existing and add new effects.
The Face0 entity enables the mask for the first face detected by the camera. With multi-face tracking, the Face1 entity appears enabling effect for the 2nd face detected by the camera and so on.
The maximum number of faces the Unity Face AR plugin can detect and support depends on your system and device capabilities. We’ve tested 6 faces being tracked simultaneously and all masks performed well.
The extended version of Face AR plugin includes 30 Banuba face filters configured for Unity.
To display effects on the scene, select the effect and check the tip on the Inspector window in the upper right corner. To select another effect, remove the tip of the active effect, click on the next effect folder and tip to activate it.
To add a new face filter, go Assets → BanubaFaceAR → Effects.
-
Create a new folder and name it as your face filter (SherlockTest).
-
Copy and paste all textures and model i.e .fbx files and .png files.
-
Organize the effect structure creating 3 folders inside the SherlockTest folder: Models, Textures and Materials.
-
Put .fbx file into Models and .png files into Textures. The Materials folder is now empty, so we need to extract materials.
-
Go to Models, click .fbx file, and press ‘Extract Materials’ in the upper right panel. Select the SherlockTest folder → Materials → Choose. The materials are now extracted.
Now, as you uploaded all the source files and organized the structure, we can configure the effect by assigning textures.
4. Assign textures
Go to Scenes → Faces → Face0.
-
Create empty folder (GameObject) where you’ll configure your effect (SherlockTest)
-
Drag-n-drop the fbx model and apply Scale X100 in the Transform section in the Inspector window. Scaling will display the actual size of your AR face filter the way users will see it in the camera.
-
Assign textures in Shader: Albedo with Hat_base_color, Metallic with Hat_metallic, and Normal with Hat_normal. You may see notification “This texture is not marked as normal”, so press Fix Now.
-
The tobacco pile uses the same textures as the hat, so we repeat the previous actions by assigning hat textures to the pile.
Tip #1: Put the Albedo color to white for proper effect color display.
Tip#2: You may adjust the color of textures with the Color Picker tool, however, we recommend doing so within the resource preparation stage in your 3D graphical editor.
Tip#3: Use the search field by typing the texture name to quickly find it.
Now, as you’ve done with all the textures, you can see the final look of your AR mask.
5. Save and Preview Your Unity Face Mask
In the upper panel, click File → Save to save your progress.
Press the Play button to preview your filter in real-time.
Success! You’ve uploaded your first face mask in Unity Face AR plugin.


