[navigation]
The Challenges Of Virtual Makeup Try-On: Why Swatches?
Before buying an item of clothing, we normally try it on to see if it fits us and looks the way we imagined. We look at the fit in the lighting of the dressing room, feel the texture, check the color match, etc. In other words, we examine the item in multiple variables and how they apply to us personally before considering a purchase.
When it comes to makeup, things get a little more complicated: while cosmetics stores offer product samples for customers to apply on their hand, not every product can be tested like this due to sanitary limitations. Besides, there are no actual samples in online stores. This is when virtual makeup try-on comes into play. This way, buyers can not only check the color of eyeshadows or lipstick swatches, but also see how they look when applied.
There are two challenges, however.
Firstly, when designing a virtual try-on solution, customers with weaker cameras and poor lighting in the room should be taken into consideration. A bright red shade of lipstick would not look as bright in a darker setting.
Secondly, the blend factor of makeup products plays just as big a role in the final look as the color itself. Blend factor defines how well the product covers the skin tone (or blends with it, hence the name). For example, a well-pigmented eyeshadow covers the skin completely, while translucent lip gloss exhibits a softer color payoff, allowing some natural lip color to show through. And because skin and lip tones are highly individual, makeup products will not look the same on fair and tanned faces. This is why it is important to display how the product behaves on different skin and prepare color swatches for successful digitization.
We posted the data required for makeup items on TINT earlier in our blog. Please note that makeup swatches on skin are not a mandatory, but a highly recommended step on the way to a perfect digital product collection. We take our services very seriously, and it is in our best interest to provide you with an immaculate digital makeup collection for your try-on client. Once we show the difference between the looks on different skin tones to AI, it will take over and produce the immaculate AR overlay of your makeup products for every customer during try-on.
So how do you create high-quality product swatches? Follow the steps below to ensure a proper showcase of your makeup products and help us bring their look flawlessly into the digital domain.
Step 1: Choose your models
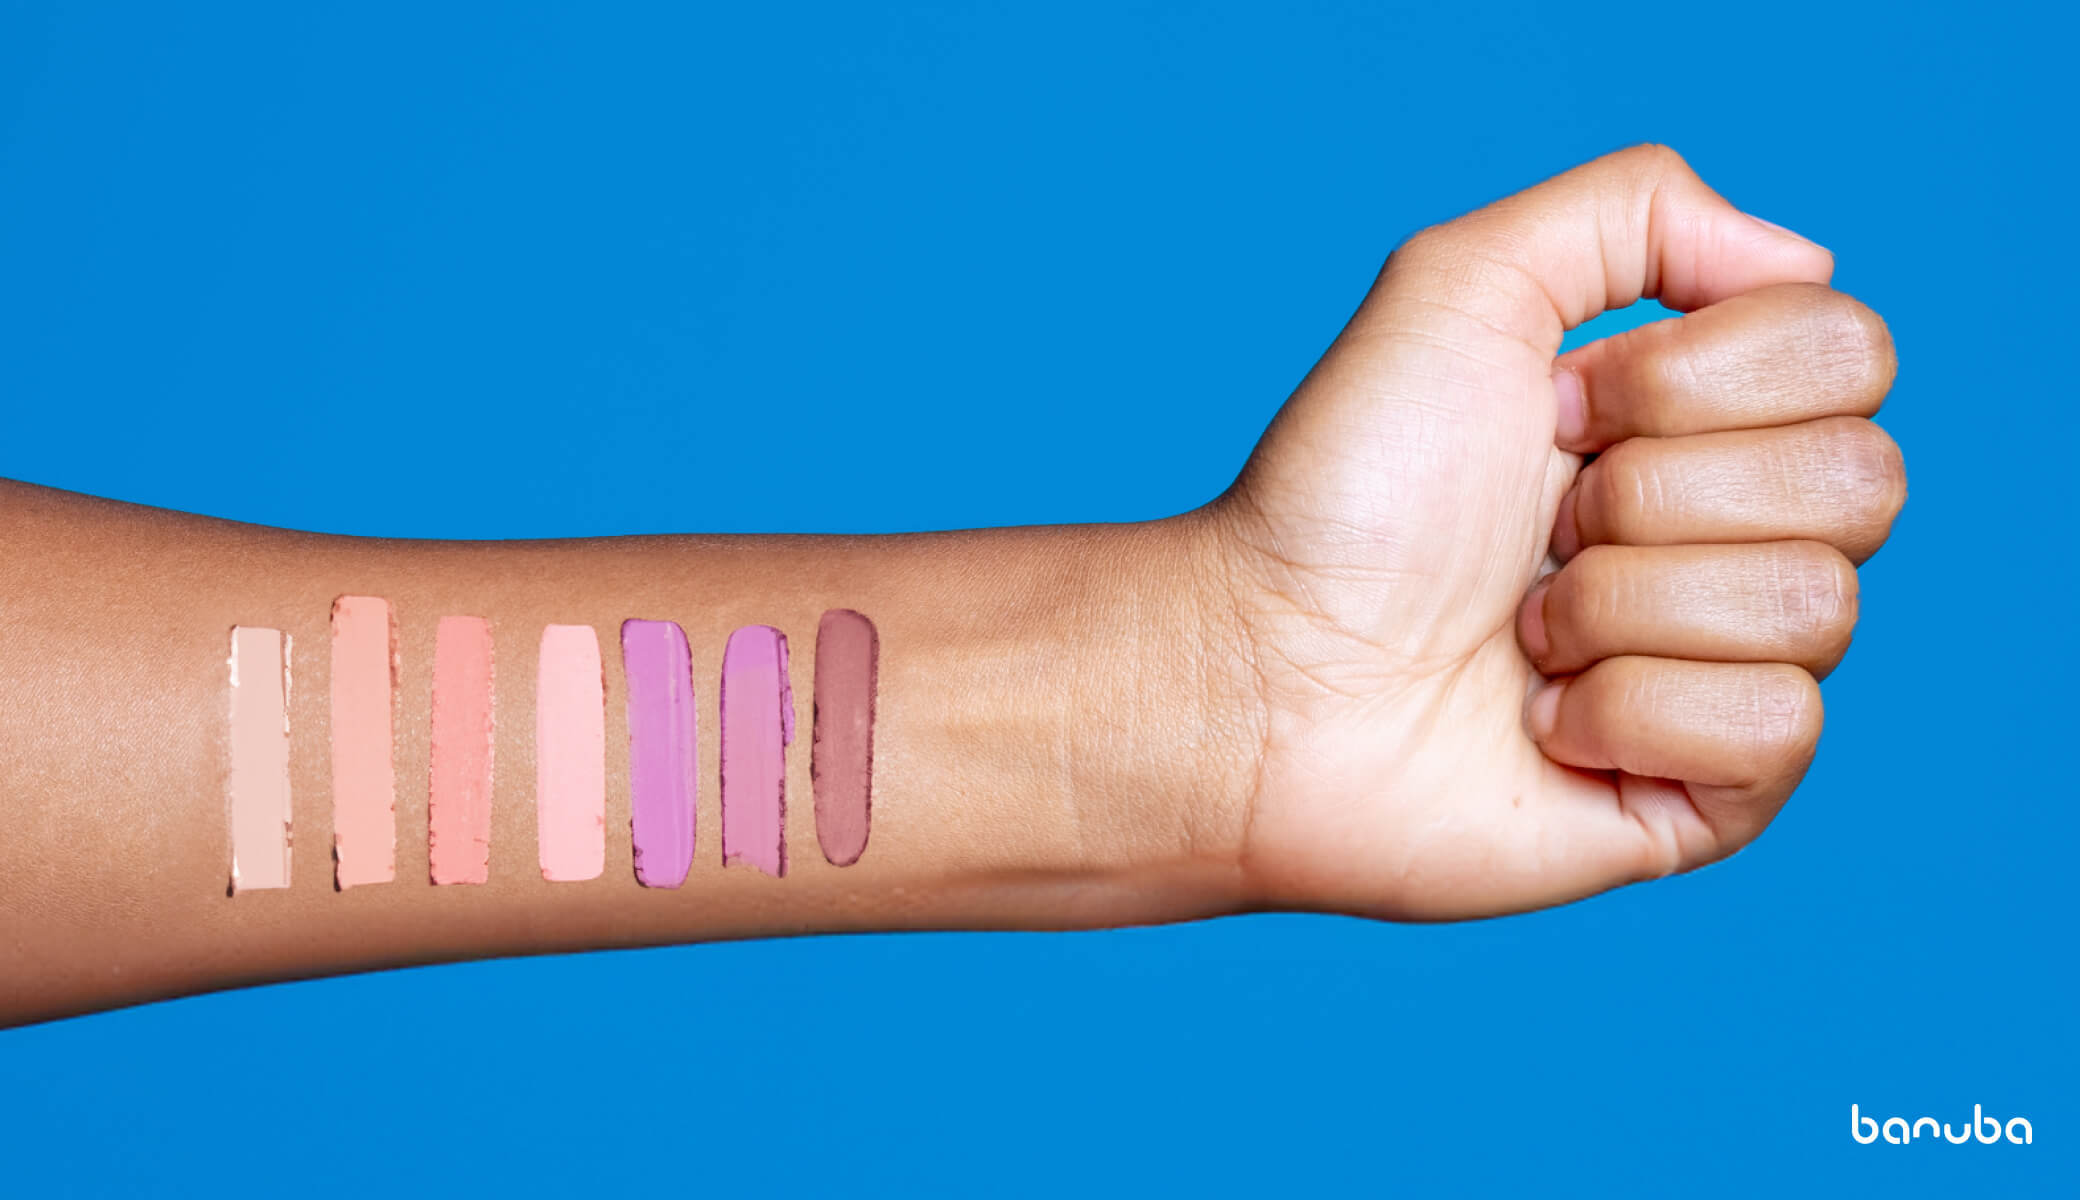
To capture images displaying how certain cosmetics look on people, choose a few individuals with different skin tones. We suggest putting the product swatch on the inner side of the hand – in contrast to displaying the products separately as part of full makeup-looks, this allows you to showcase multiple items at once and save time during shooting.
If you want to take a more serious approach to these pictures, consider hiring a hand model for each skin type (light, medium, dark). Many brands use hand models for this purpose – the photos can be used both for product cards in the online store and for digitization.
When choosing a hand model, check their nails and fingers. Avoid distractions, like tattoos or bright nail colors, that could take attention away from the product. Individuals with longer arms work well for these types of photos.
Step 2: Apply Swatches
In general, a photoshoot of this kind does not require a sophisticated studio setup. You only need a horizontal surface of your choice (e.g. a wide white or marble table), lighting equipment, a good camera, your hand models, and a few makeup tools:
- Stencil swatch stickers
- Products you want to demonstrate
- Rubber tool
- Lots of makeup remover and wet wipes
First, apply stencil swatch stickers to your models’ forearms. They are the easiest way to create swatches of a uniform shape. Make sure your stickers are applied in the exact same position in all images. A good place to start is 5-7 cm above the wrist crease. In order for stickers to stay in place, make sure to apply them on clean skin without any cream or moisturizers.
Next, put your product on. The easiest way to do it is by rubbing it into the skin with your finger in gentle circular motions. You can also use a damp makeup sponge or a makeup brush of your choice to blend the product in. Once you are done, use a rubber tool and swipe over it with one movement to make sure the product has a smooth surface.
Step 3: Adjust Lighting And Camera
The lighting setup is quite straightforward for this shoot. Use large light boxes placed close to the subject for dynamic lighting. When positioning the equipment, make sure it doesn't block the models sitting there. Strobe lighting is another option you can utilize for high-contrast shots.
For full control over the camera, mount it overhead and shoot tethered. You want your swatch photos to be precise, so it's best to use your sharpest lens, set to a minimum of 90mm focal length, to prevent any distortion. The camera of the latest iPhones work just as fine and provide us with just the right quality of pictures for proper digitization.

AI does not require a professional photoshoot to learn how your product behaves when applied. If you want to take a more serious approach to shooting your makeup product swatches for content, investing in a professional photoshoot may be a viable option. However, if you only opt for clear digitization prompts, a simple snap on iPhone 13 or up with correctly applied product swatches in good lighting should do the trick.
The pictures you get can be used to enhance product cards on your online store and serve as excellent reference for us to create a top-quality digital version of your makeup product. For faster digitization, you can also provide additional information:
- Pictures of models with the items applied
- Product combinations: lipstick X + eyeshadow N +... = look< name> (you can add more later)
- Photos of the models for each makeup combination
Digitize Your Makeup Products With TINT
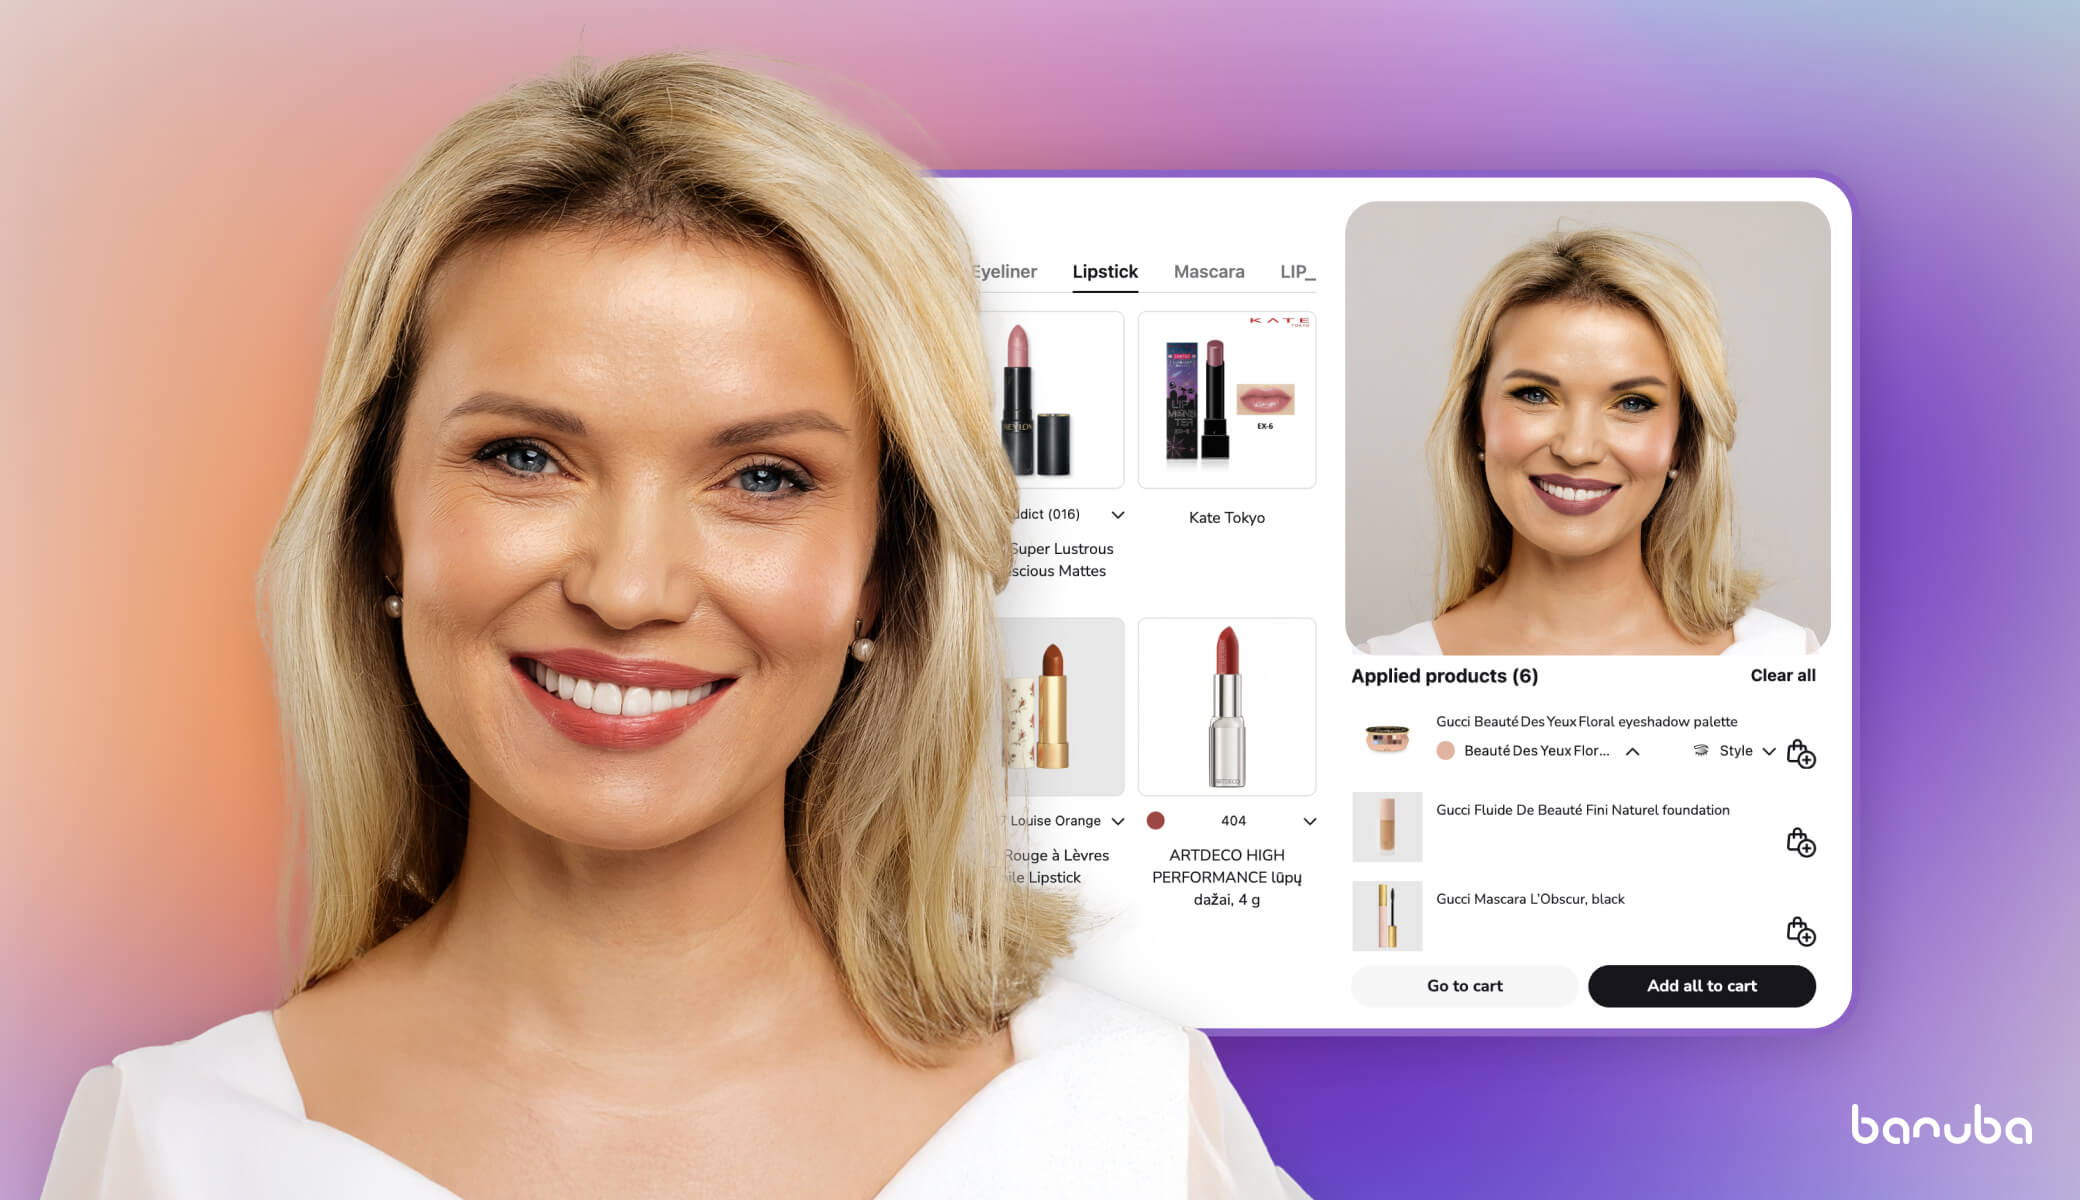
An investment in a solid virtual makeup try-on software for your business can prove beneficial in a matter of a few months. An average US citizen spends about $50 monthly on shopping for beauty products online, and this trend is only going to grow. Shoppers that have an opportunity to try your product on are generally more likely to make a purchase – and top beauty brands like Gucci are already utilizing online try-on tools to attract customers and boost brand loyalty.
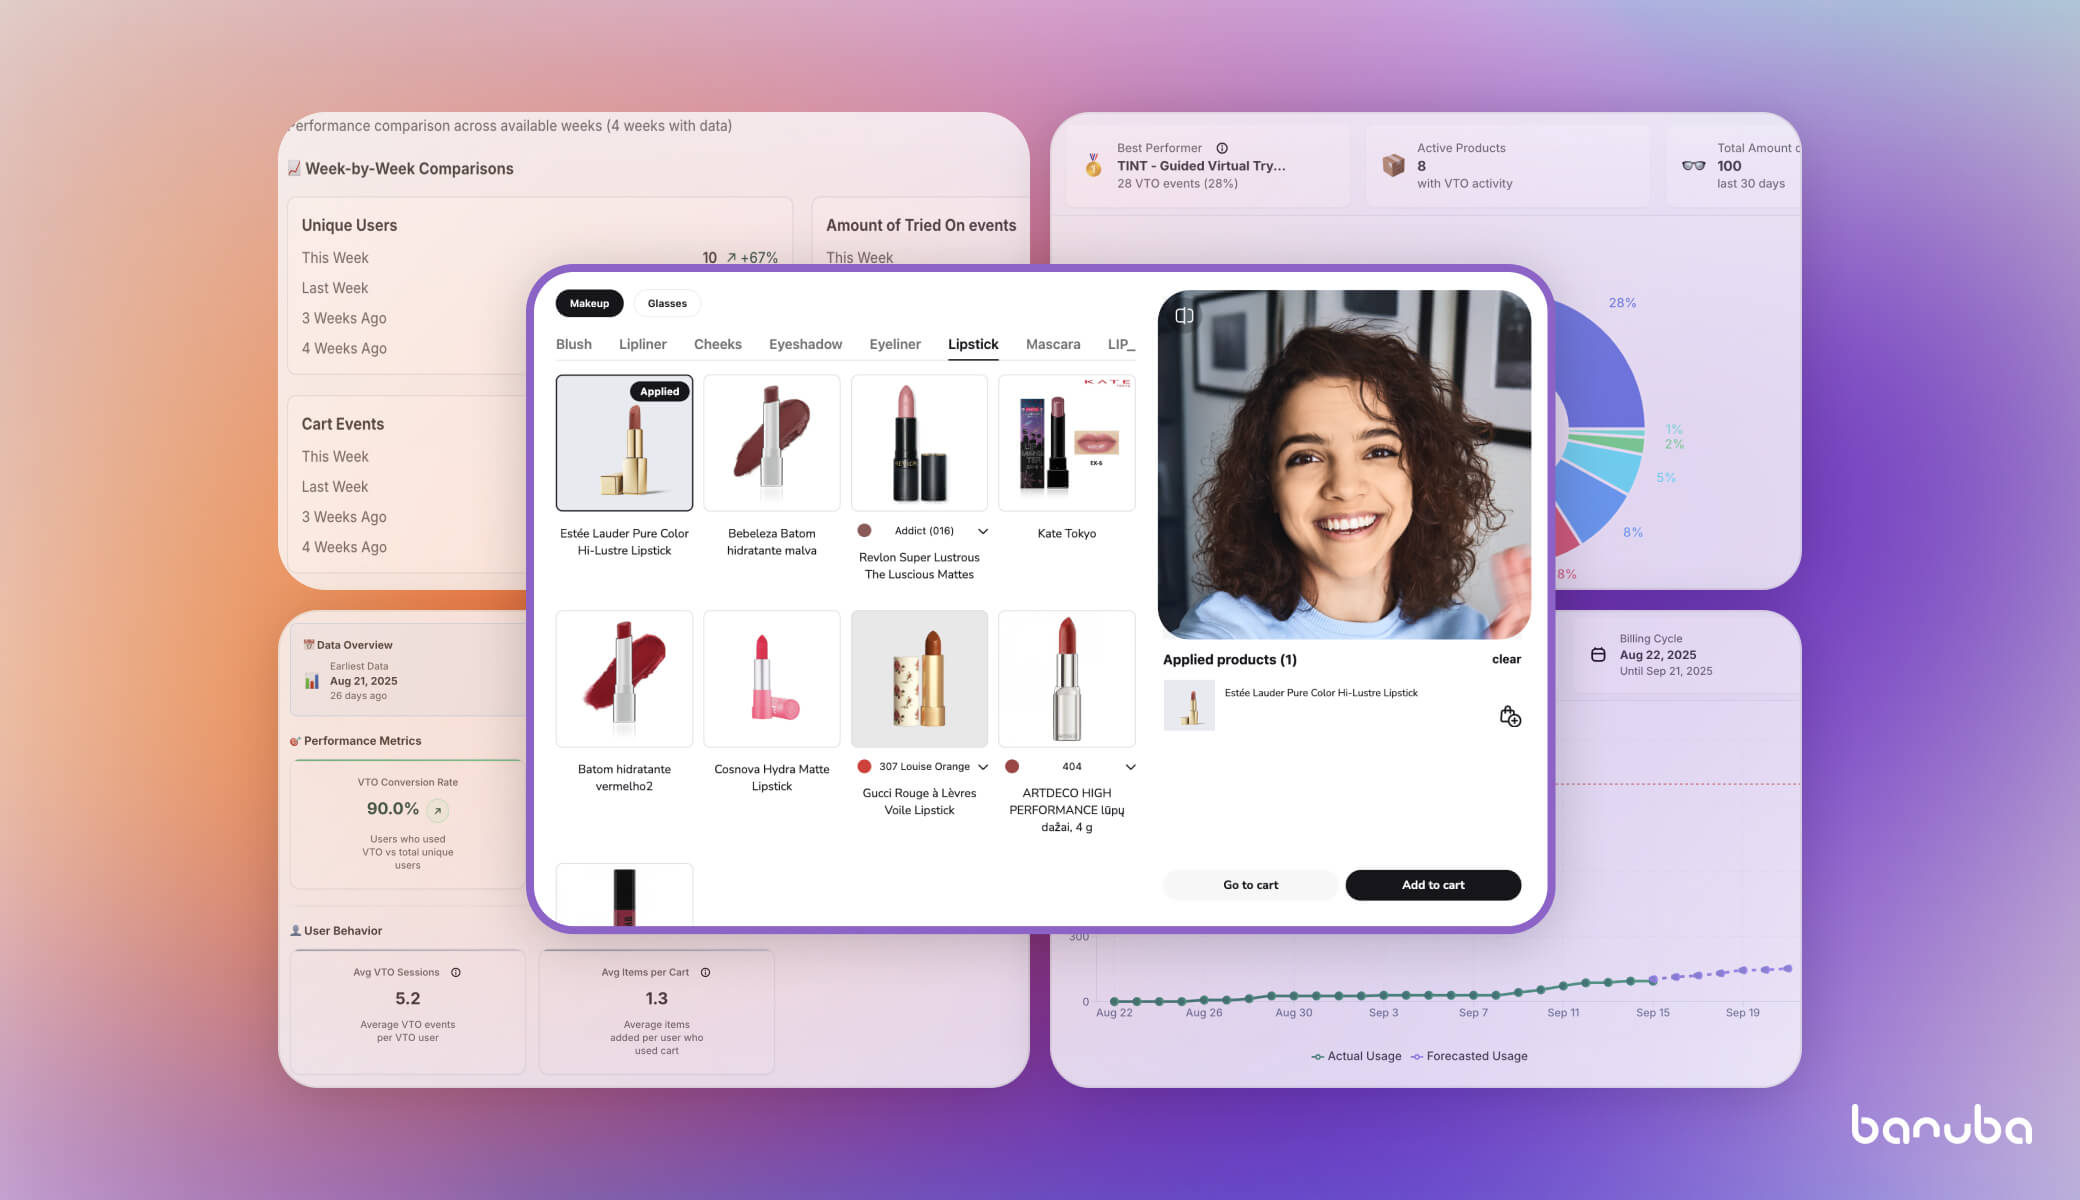
Banuba’s TINT is more than just an AR try-on mechanism. This software offers an impressive range of features:
- State-of-the-art AI recommendations that suggest products guaranteed to fit customers
- Realistic product representation, with virtual items interacting with skin and lighting just like real makeup
- Cross-platform accessibility on web, desktop, mobile, and in-store smart mirrors
- Diverse product categories, including makeup, eyewear, headwear, bracelets, jewelry, and more
- Quick integration, typically taking less than 2 weeks on average
- Over 22,000 SKUs already digitized
A demo is worth a thousand words – apply to see top-notch digital makeup with your own eyes.


