How to Make a Photo Editing App With Photo Editor SDK
Photo editing apps for iOS and Android are ubiquitous.
People want to share their best pictures so improving them before sharing is par for the course.
As the market for photo imaging software is expected to grow, more companies join it.
If you are among them, this article will help you learn about the market conditions, top competitors, core features to include in an MVP, and how to use a photo editor SDK to save time and money.


[navigation]
Photo Editing Application Market Insights
The global market for photo editing Android, iOS, and desktop apps together is reported to be around $300M. This includes both simple consumer tools (e.g. Google Snapseed) and more complex professional software (e.g. Adobe Photoshop).
However, depending on the methodology, it could actually be much bigger.
Firstly, this doesn’t include social media with inbuilt photo editing functionality. If we add platforms like Instagram and Reddit, the market increases by a large percentage.
Secondly, this stat doesn’t include software that can work with both photos and videos. InShot is one such example.
As a result, the actual numbers can be much higher, which makes the niche more attractive for newcomers.
How to Make a Photo Editing App for Android and iOS
So, the market conditions are favorable, and you have an idea for the app. This is what you should do next.
1. Position Your App Properly
This is the stage where you need to decide on your target audience and the message your app sends. Both of these things are important for your promotion efforts, app design, feature selection, and other aspects of your prospective iOS/Android photo editor app.
For example, an app focused on casual users that want Instagram-friendly pics will have a different positioning from mobile editing pros.
2. Choose the Monetization Model
There are four main avenues that photo editing tools can take to earn:
- Paid. Some apps cost money to use. It can either be a regular license payment or a single lump sum for lifetime access. Such apps usually offer a trial period to let the users test it and see whether this is something worth paying for. Such a model is useful for apps in a very tight niche or ones that target professionals.
- Freemium. The core features are free to use but the advanced ones require some form of payment. This model is popular because it allows easy user acquisition and has a potential for good conversion of free ones into paid ones. However, it also requires that the gated functionality is attractive enough to merit the payments.
- In-app purchases. This is similar to freemium but the users can pay extra money for certain goods within the app (e.g. high-end filters and tools).
- Ad-supported. Keeping the app free for the users but integrating ads is a way to easily attract people. However, your earnings would be very dependent on the total user base.
These models can be used together. Ad-supported apps that remove ads for premium users and allow them in-app purchases are very common across all domains.
The exact monetization model largely depends on the kind of photo editor you want to build and your target audience.
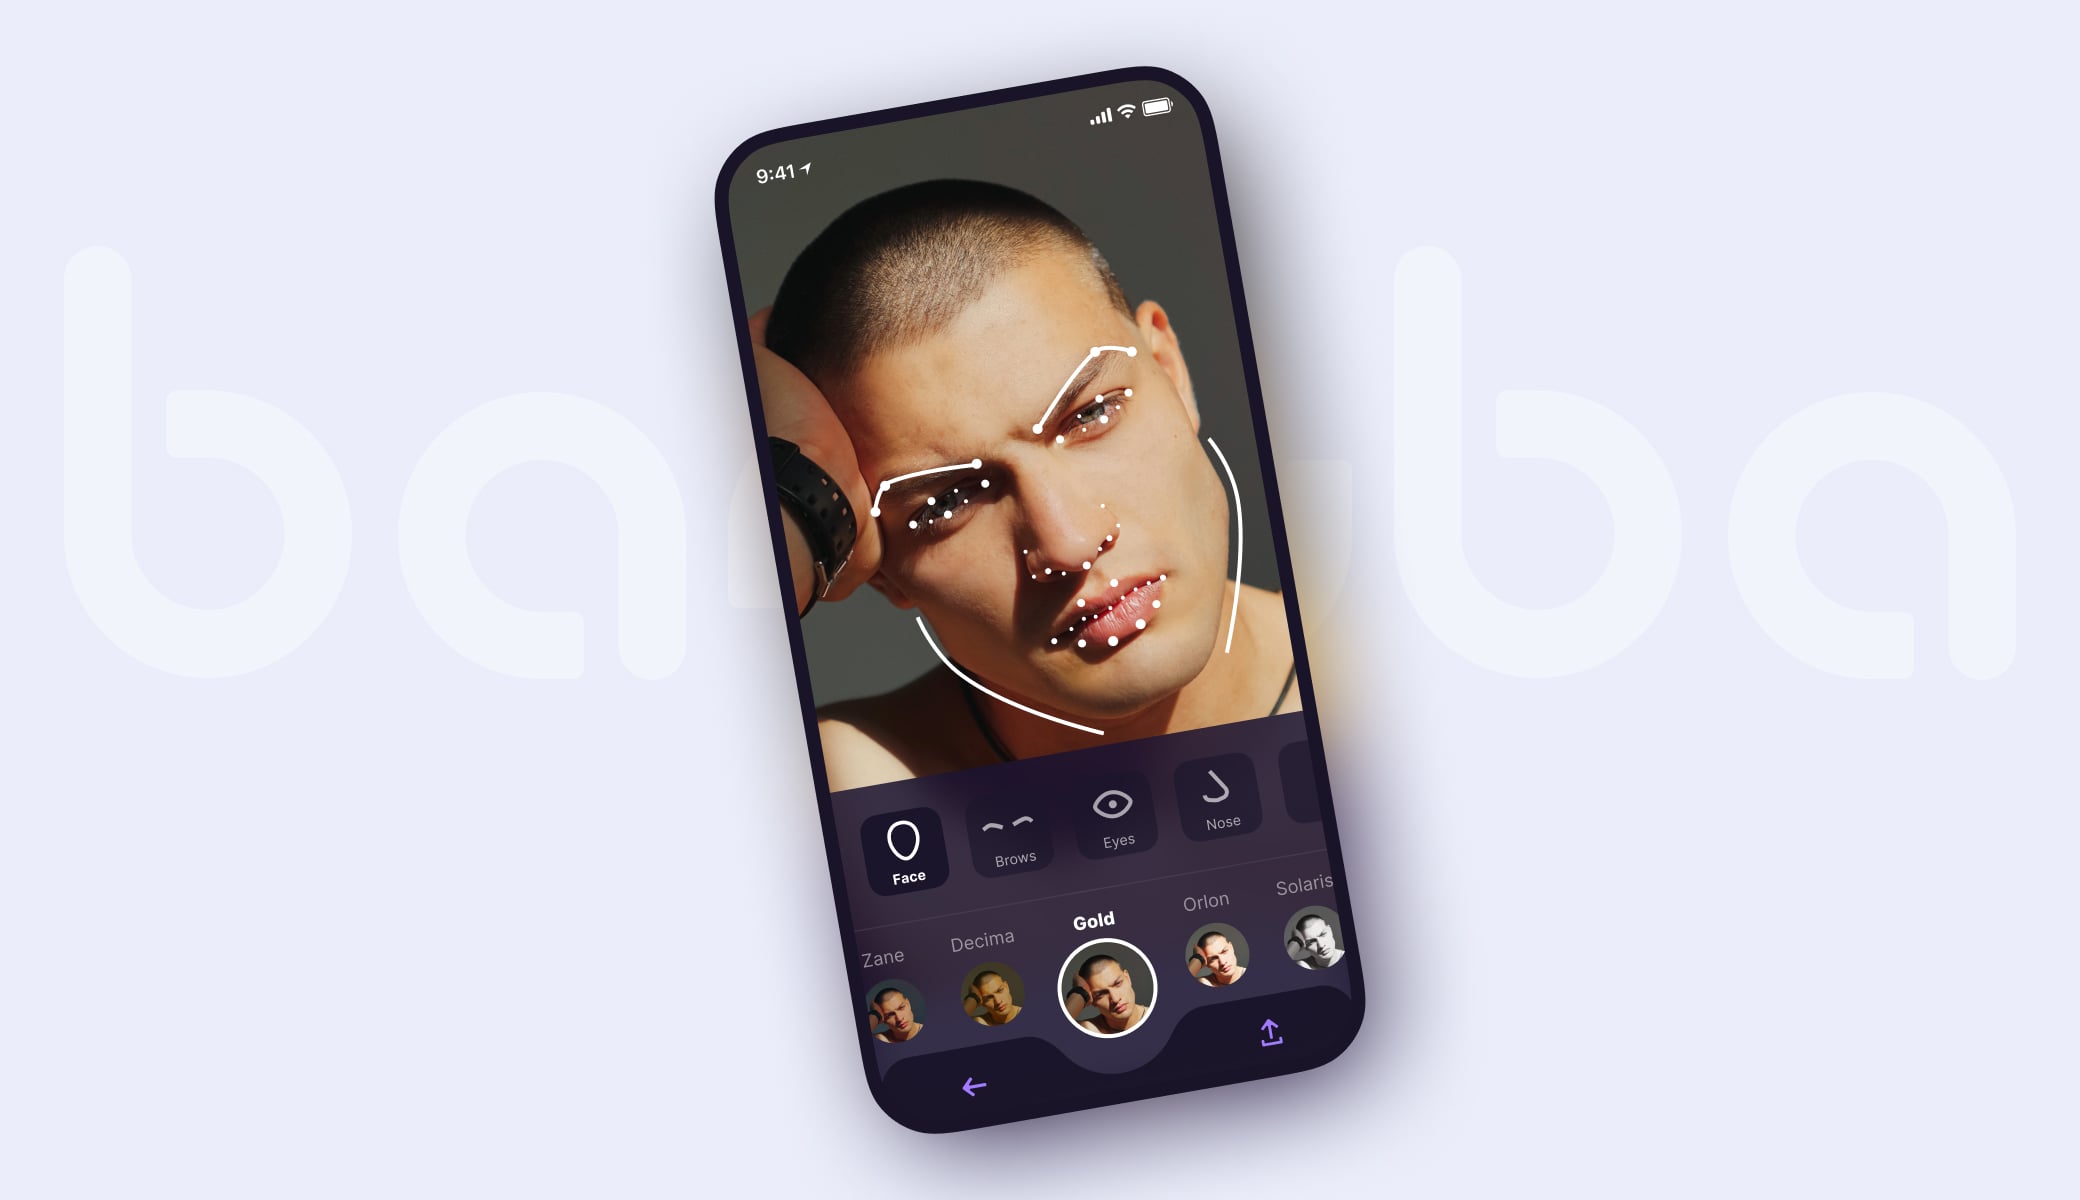
 Examples of AR masks
3. Choose a Development Strategy
Whether to build the app yourself or hire a contractor depends on the conditions you are in.
The in-house approach is advisable when:
- You have a development team that can do such work
- You have enough money to fund the development of an MVP (3-6 months)
- You want to avoid any miscommunication
- You want the maximum degree of involvement in the development process
The first item on the list is usually the problem, as finding a qualified mobile developer, let alone an entire team, is a lengthy and expensive process - expect over 4.000 USD and at least 36 days to get a new dev, assuming you can beat the offer from larger companies and other startups.
Not to mention that the people will also require payment later down the line. But if you already have a team, there is nothing stopping you.
Hiring a software development company (or a freelance team) is for the following cases:
- You don’t have your own team
- You want to save money on development
- You don’t have the technical knowledge required
An offshore development company would cost way less than an in-house team. In addition, a sizeable business would be able to put such a team together on short notice and start working quickly.
Although, it might take some work to find the contractor that would be the right fit for your project.
You can also combine the two.
For example, if you have a team that can build a photo editing app for Android but not iOS, you can contract someone to fill the gaps.
4. DIY or Integrate a Photo Editor SDK
You need to decide whether you want to develop the photo editing functionality from scratch or integrate it using an image editor SDK - a premade module that can perform the necessary functions.
This is what the DIY option has going for it:
- Full control over the feature set and their implementation
- Cheaper in the long run
- Total customization
However, there are drawbacks as well:
- Requires a skilled team
- A large initial investment needed
- Fewer features than in premade products
SDKs have the following advantages:
- Lower initial cost
- Quick integration (within a week in most cases)
- A lot of basic and advanced features (AR masks, video editing, etc.)
- Native integrations with other SDKs
- The vendor takes care of support
The main disadvantage of this approach is that the license payments will add up over time and the long-term cost of using an SDK is higher than building a system from scratch.
This is a viable option even if you use cross-platform frameworks.
You can also integrate an iOS/Android photo effects library that is open-source. While most of them are free, they carry hidden costs as you will need to adapt them to your project.
4.1 Developing an App with a Photo Editor SDK: Android
Explaining how to create such an app from scratch would take actually writing it. However, we can show how it’s done with an SDK because it’s a rather straightforward process.
We will use Banuba Face AR SDK as an example because it has photo editing capabilities (e.g. effects and slideshow) and supports native mobile development technologies, as well as web and desktop - if you decide to expand later.
To get the latest version of the SDK, just send us a message. There is a free trial, so you’ll be able to test it before committing to anything. This is the first step on any platform.
Requirements:
- The latest Banuba Video Editing API & SDK release
- Java 1.8+
- Kotlin 1.4+
- Android Studio 4+
- Android OS 6.0 or higher with Camera 2 API
- OpenGL ES 3.0 (3.1 for Neural networks on GPU)
These requirements also fit the Android version of cross-platform apps.
Once you have the SDK, follow the detailed integration instructions on our GitHub page.
4.2 Developing an App with a Photo Editor SDK: iOS
The iOS version has the following requirements:
- iPhone 6+
- Swift 5+
- Xcode 13.0+
- iOS 12.0+
See the GitHub page with an integration guide and code samples to quickly marry the SDK to your project.
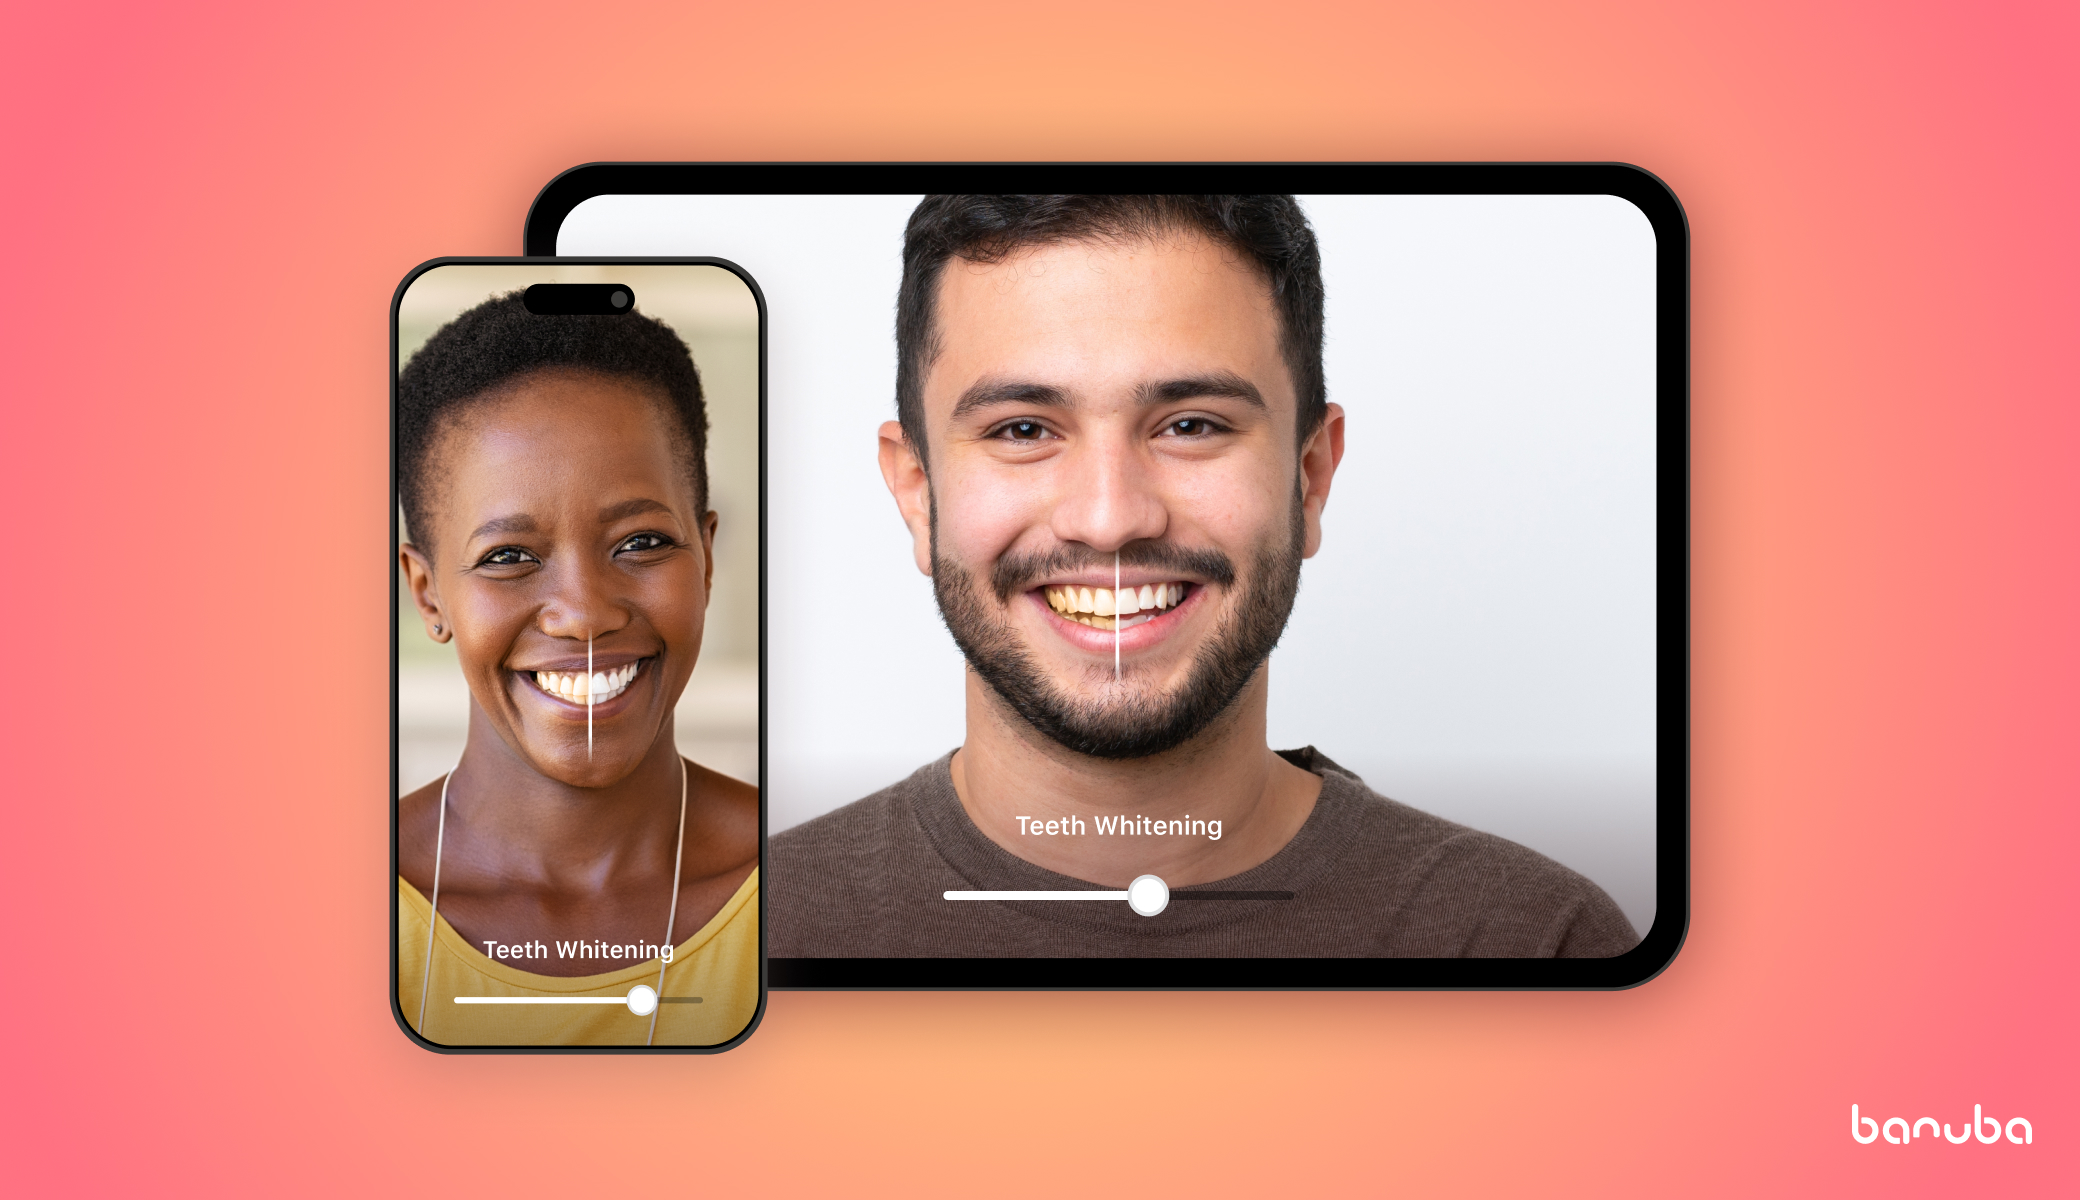
 Beautification from Banuba works in real-time and in post-processing
5. Select MVP Features and Develop Them
This can be done either before or after choosing the development approach. In the latter case, you will likely get help from your vendor.
MVP stands for “Minimum Viable Product”. It is a version of your photo editing app that contains the core features plus something that makes it stand out from the competition (that’s where positioning comes in).
This approach has become popular among startuppers because it allows them to release functioning products while risking the minimum amount of money.
If things don’t go as planned (market conditions change, the competition turns out too strong, etc.) you won’t lose as much with an MVP as you would with a more expansive product.
There are several ways you can select your features.
One is weighted scoring. First, you choose criteria (importance for users, profitability, complexity, etc.). Then you assign each feature a score based on these criteria. The ones with the most points get into the MVP, the rest can wait.
Another, somewhat simpler approach, is the value vs complexity quadrant. It begins with drawing a standard coordinate chart with one axis representing how much will a feature add to your photo editing app, and another showing the effort it would take to build it.
You will end up with four blocks:
- High value - low complexity (build and include first)
- High value - high complexity (implement after the most important ones are done)
- Low value - low complexity (maybe include)
- Low value - high complexity (ignore).
Photo Editing App Features
This is what you can implement:
- Basic edits. Brightness, contrast, warmth, etc. These are fundamental things that can quickly improve a picture and are expected by most users.
- Advanced image processing. You can find layers, brushes, magic wands, and other elements in the Photoshop tool menu.
- Picture manipulation. Cropping, trimming, resizing, and other changes in the form.
- Filters. This includes LUTs (“Instagram filters”), frame effects, borders, etc.
- Overlays. Placing pictures or GIFs on top of other pictures.
- Masks and stickers. In other kinds of apps (e.g. dating and eLearning) this is more of an add-on. For editing pictures and videos, this is often an expected feature.
- Object removal. If your users need to delete objects from a picture/video, you’ll have to use one of these tools. They can be automated or user-controlled.
- Registration/authentication. If your app has social features, you will need a process for people to start an account and get a way of proving who they are. It could be done in a myriad of ways: email, phone number, social media, etc.
- Profile. A place for a user to position themselves. It is also where one can fine-tune their app experience.
- Feed. A timeline helping your users discover new content and share their own.
- Reactions. Likes, comments, and reposts are the “big three” options people have to interact with content.
- Payment processing. In the case of paid apps (including freemium and in-app purchases), you will have to integrate payment processing through Google’s and Apple’s stores.
- Tutorial. Showing people how to make picture edits and perform other activities within the app.
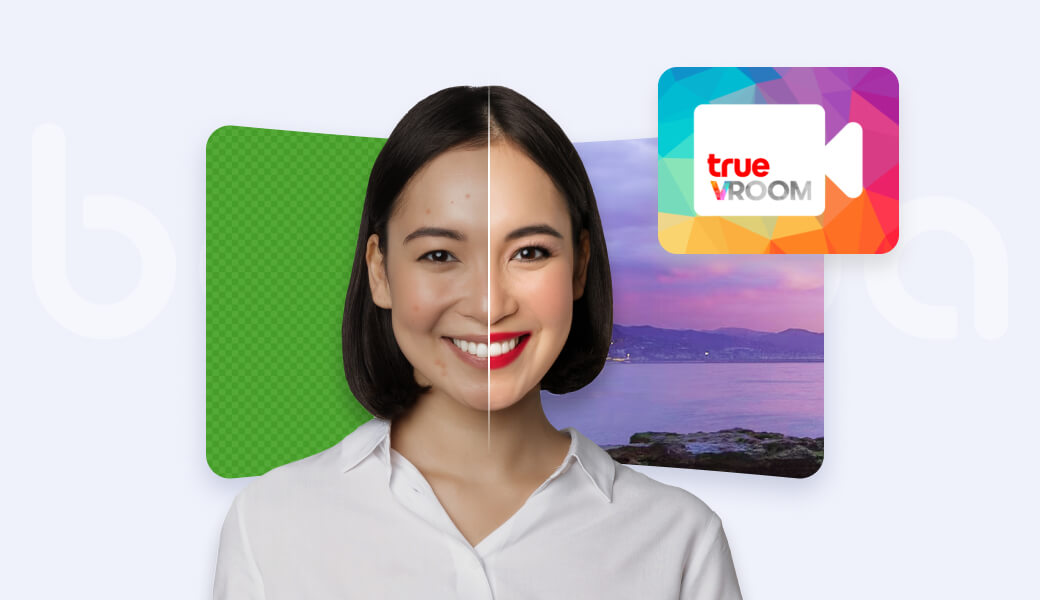
 Background replacement with Banuba Face AR SDK
6. Plan and Prototype
This is the stage to design layouts, interface, and user flow, as well as create a few prototypes and see how they work. In many cases, what you imagine in theory doesn’t work like this in practice.
That’s why prototypes are so helpful - they cost a tiny fraction of the overall development budget yet allow you to get a feel of how the app runs.
In addition, using them helps bring out potential hurdles that you could’ve overlooked.
7. Test and Launch
You can’t prototype everything. The actual photo editing interactions are too complicated for that. So are the performance characteristics (e.g. the app speed and the battery drain).
So before going to market with your photo editing app, it is advisable to run user acceptance testing (UAT). This is done by using a representative group of people from your target audience.
Give them an opportunity to try your app in real-life conditions. If the feedback is positive - great. If it isn’t, you now know what to fix.
When the app is ready, it’s time to release it in stores and start the promotion efforts.
8. Support and Expand
You know how to make the best photo editor, so you do everything right and your app becomes a success.
But the work is not done. The competitors won’t sit idly by and watch you grow.
You will need to add new features, keep the existing ones updated, squash bugs, and improve your app further.
Top 4 Photo Editing SDKs for Android and iOS
There are a lot of solid options if you want to get packaged photo editing features. Here are the top 5 SDKs you can use.
1. Banuba Face AR SDK
Banuba’s flagship product is a powerful iOS/Android photo effects library. It was made by a company with focus on AR and it shows.
The main advantage of Banuba Face AR SDK is a great variety of things to be added to pictures: masks & stickers, text/picture/gif overlays, background replacement, beautification, etc.
The company’s asset store also contains many premade effects that can be licensed.
It is available for a free trial, just send a message to get it.
2. Img.ly
Img.ly is a venerable SDK from masters of their craft. It has a lot of editing features optimized for smartphone screens. It allows a lot of customization and can be integrated with native Android and iOS apps, as well as Flutter, React Native, Cordova, and Ionic.
Img.ly has traction in eCommerce, social media, and marketing industries.
3. DS Photo Editor
DS Photo Editor is easy to integrate and easy to use. Although its feature set is relatively small, it still has many photo editing options: cropping, vignettes, LUTs, overlays, etc. This SDK is completely free to use.
4. Pixelixe
Pixelixe is built upon HTML5. It is well-suited for web applications, although mobile web apps can also use it. Pixelixe can crop, resize, add captions, blur, and do many other things.
Besides working with photos, it also processes PDFs. And the developers would appreciate its API that makes the SDK more convenient to operate.
Why Banuba Face AR SDK
For quick photo editing app development there are few SDKs as good as Banuba’s. Here’s why:
- A large iOS and Android photo effects library
- Compatible with native and cross-platform technologies
- Supports 80% of Android devices and iPhones 5s up
- Used by millions of people worldwide
Conclusion
The mobile photo editing app market is big and growing, so the conditions for the new companies are favorable.
Yes, the competition is strong.
But with the right positioning, a solid MVP, and a cost-effective development (using a photo editor SDK) you can achieve success. And if you need help with your photo editing capabilities, let us know.
FAQ
How do I make my own photo editing app?
To make your own photo editing app start with conceptualization: who will it target and what scope of problems will it solve. Then choose the monetization model, a development strategy (in-house or with outside help), select the approach to photo editing features development (DIY or with an SDK), choose the feature set for the minimum viable product, prototype the project, test it, and launch your app.
How do you add effects to photos on Android?
The simplest option to add effects to photos on Android would be to integrate a premade photo-editing SDK, e.g. Banuba Face AR SDK. It could be done in a few hours - under a week at most. Then it is just a matter of selecting the effect you want, the software will apply it automatically.
How do I integrate a photo editor into my website?
To integrate a photo editor into your website, first, send us a message to get the latest version of the SDK. Then follow the instructions - it takes just a couple of lines of code.


