[navigation]
About Filters
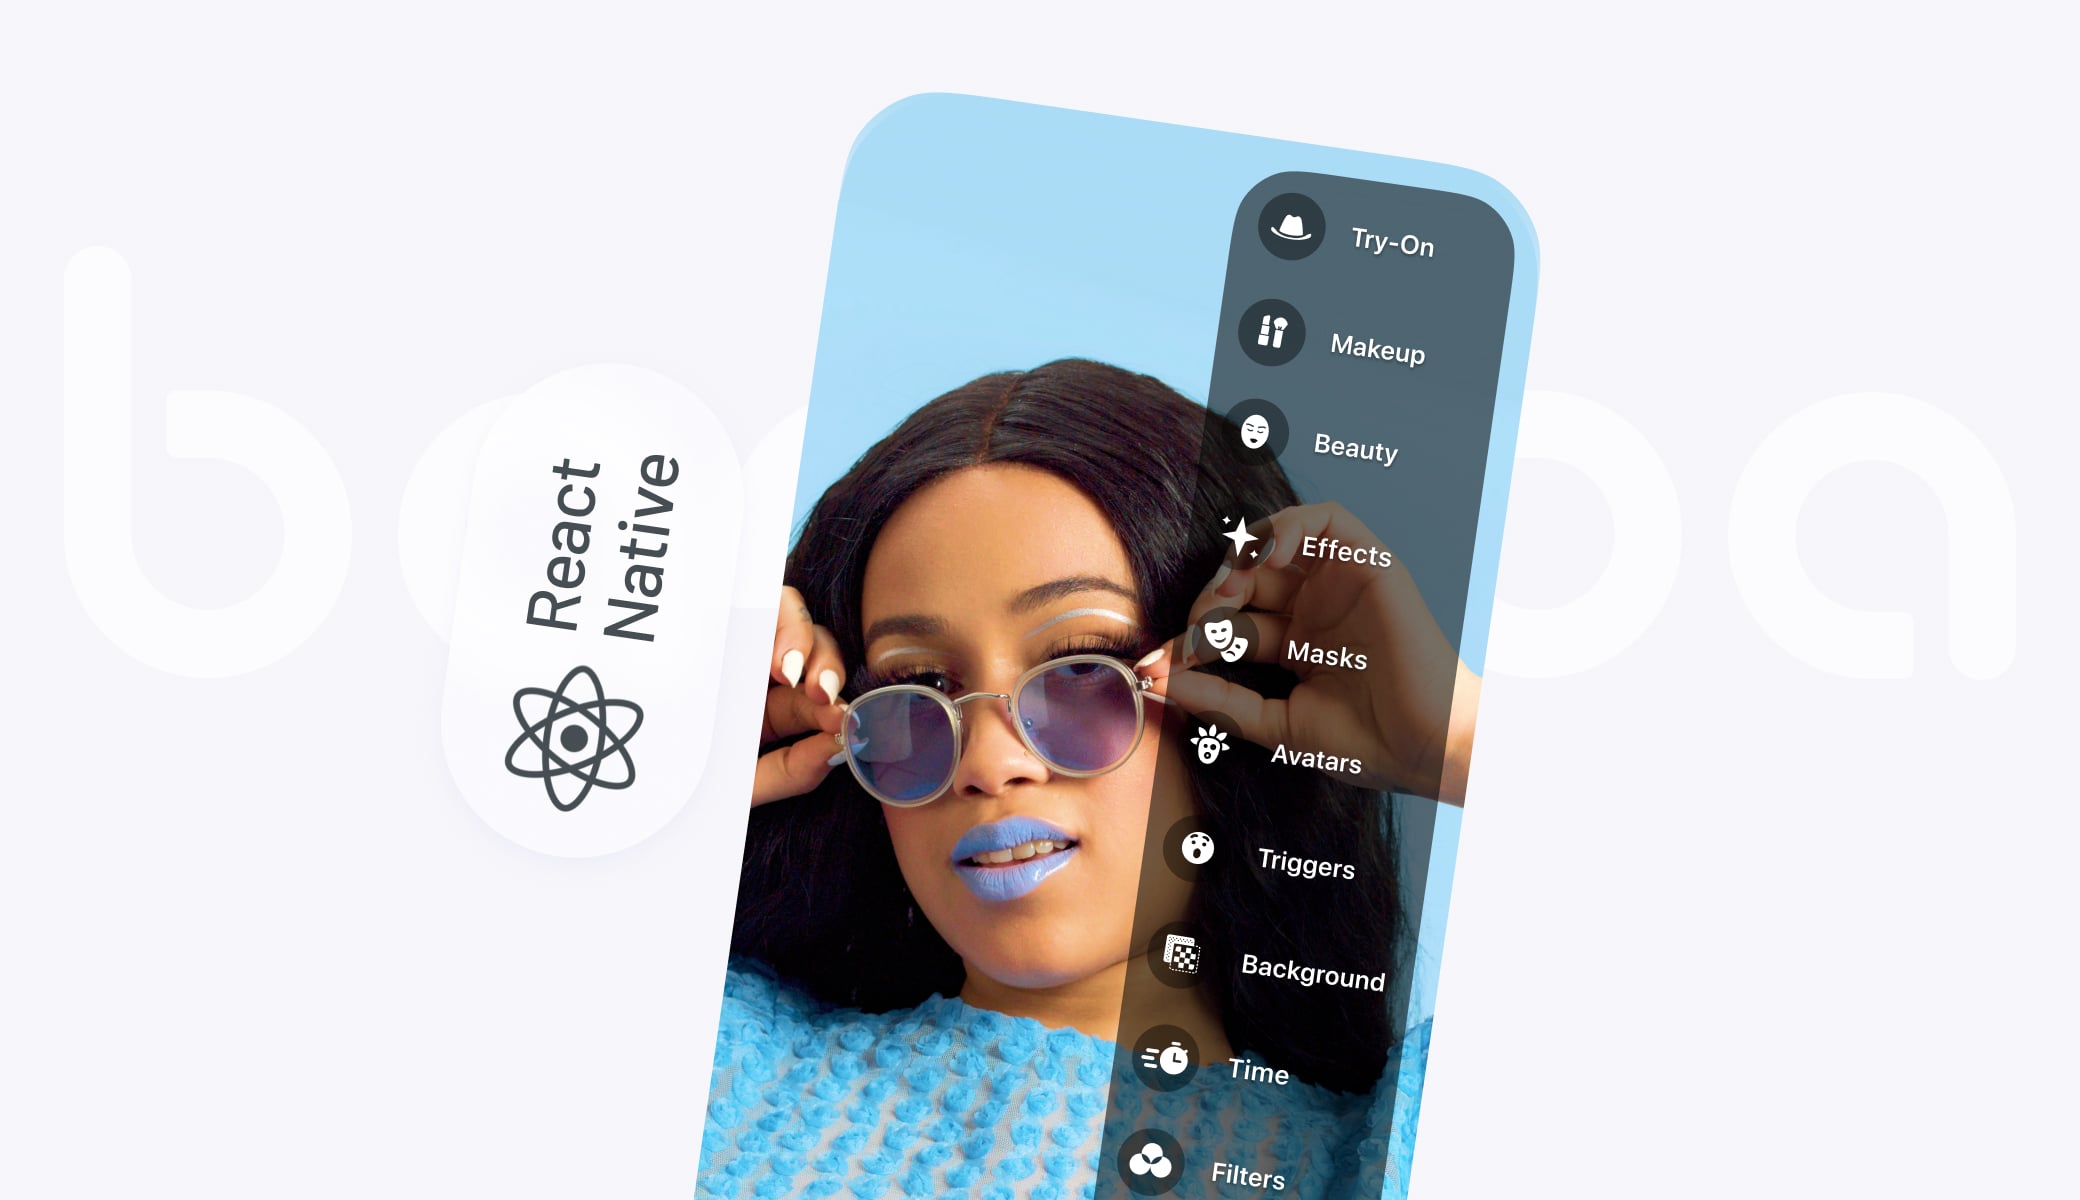
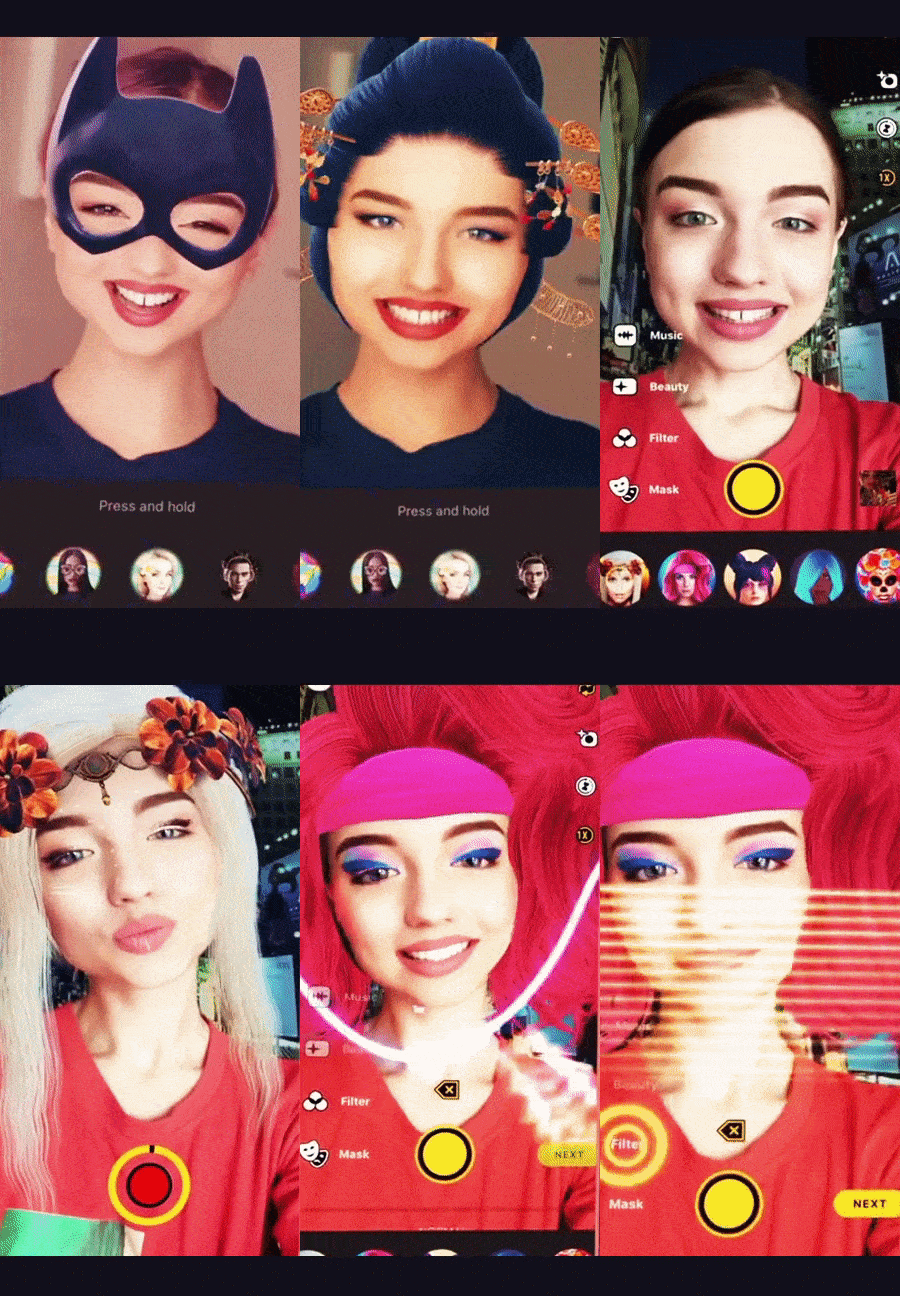
The filters in question are various effects that add flair to the image or video. They include:
- LUTs (Instagram filters). Color correction presets like sepia or black-and-white.
- Face masks. 2D or 3D objects that cover the users’ faces or change them completely.
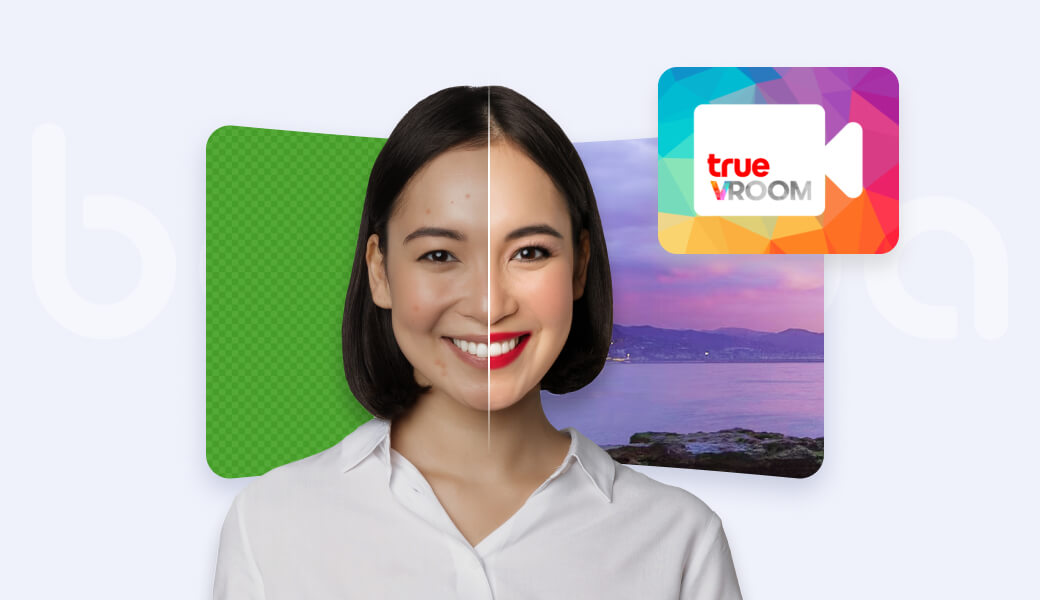
- Virtual backgrounds. Effects that segment out the human in the picture and replace everything else. Works as a “green screen” or helps protect privacy in video calls.
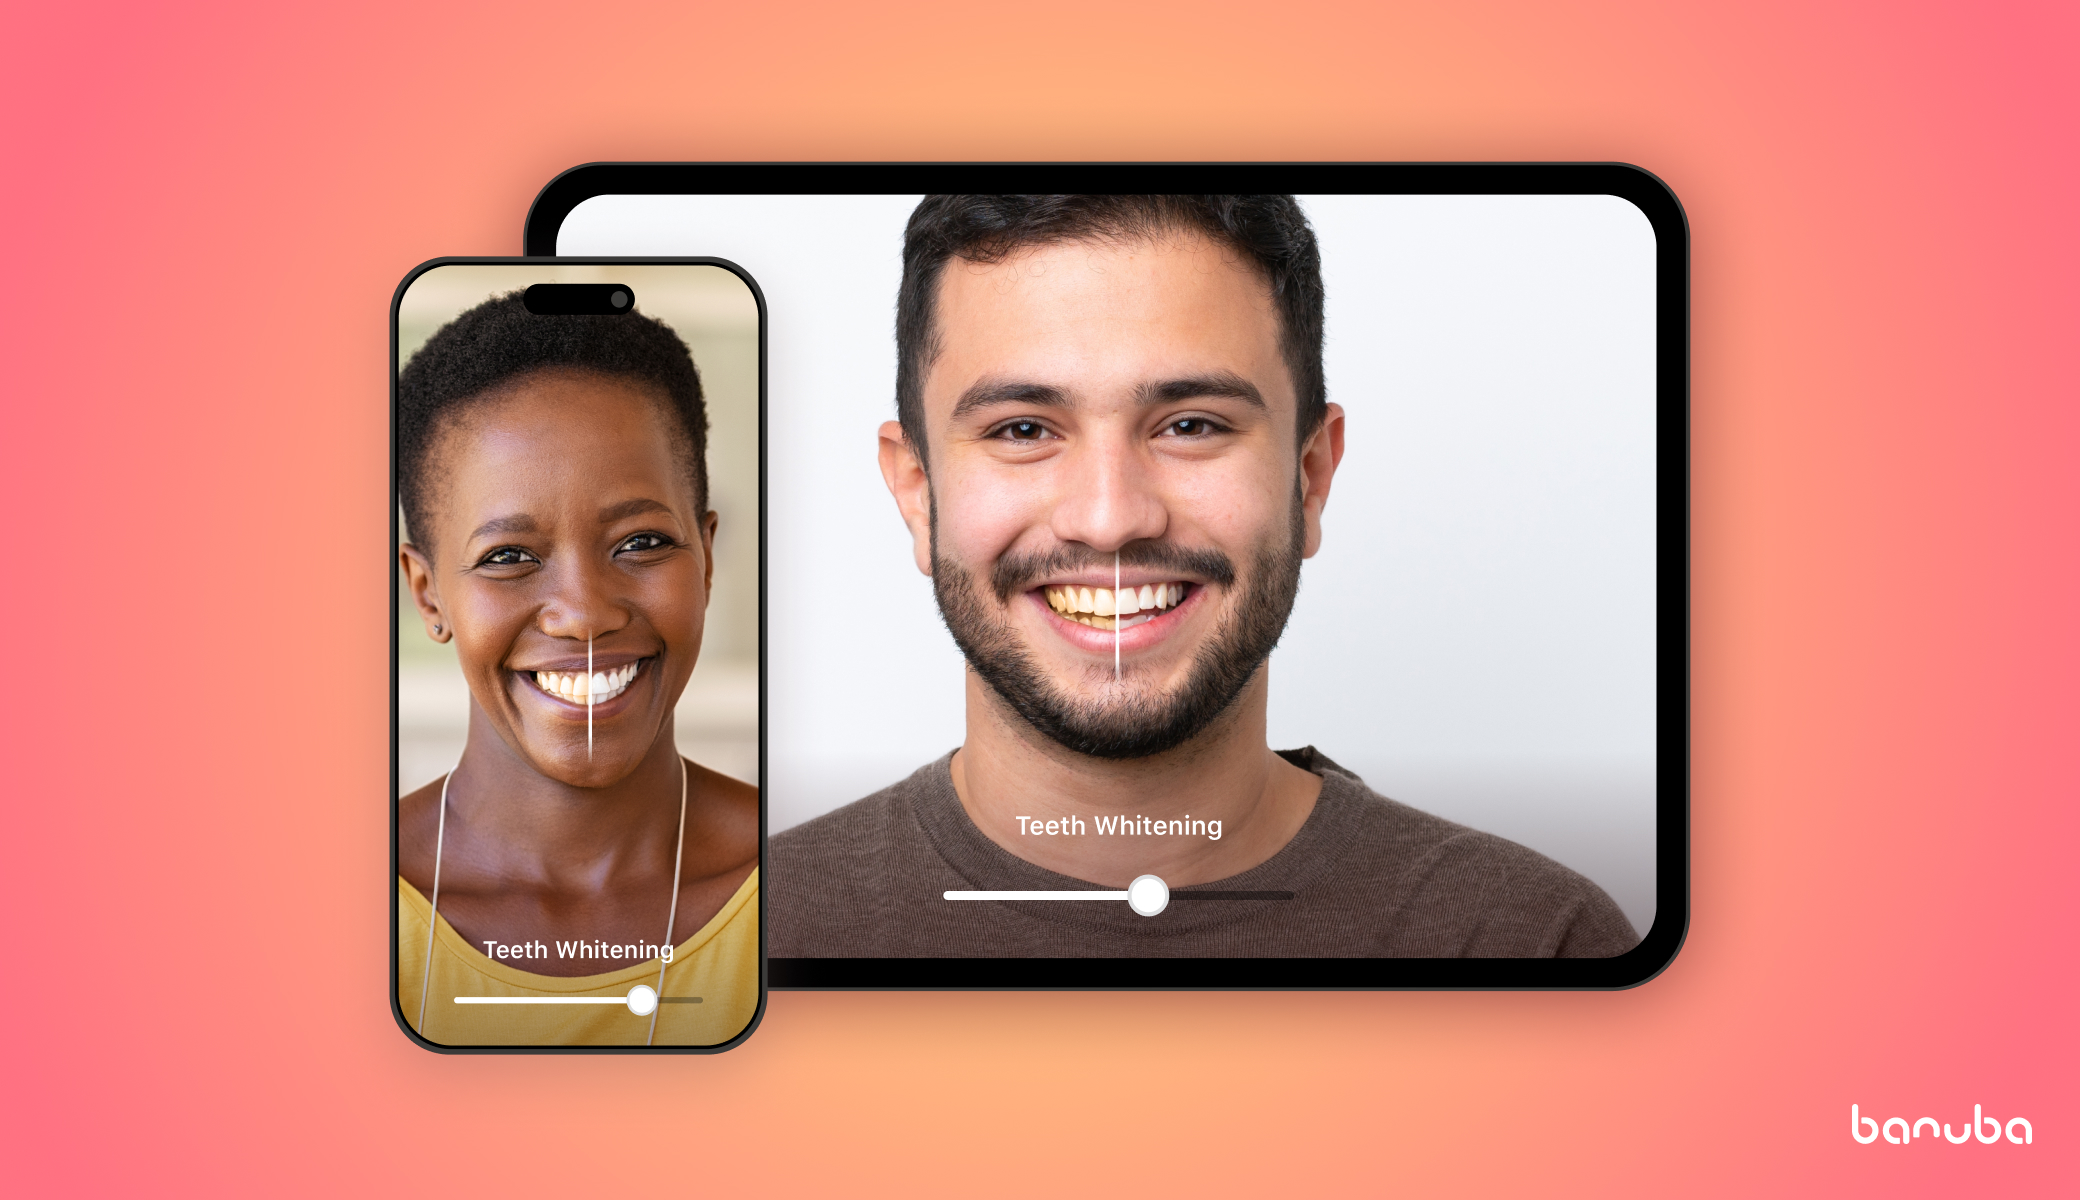
- Beautification. Smoothing skin, removing blemishes, whitening teeth, evening out skin tone, and other cosmetic improvements.
- Face morphing. Virtually changing the shape of the user’s face and facial features.
- Virtual makeup. A React Native image filter that adds mascara, lipstick, hair color, and other virtual beauty products.
- Video effects. Various changes to the video feed, e.g. slo-mo, rapid, rave, etc.
- Try-on. Checking out virtual items (eyeglasses, hats, jewelry, etc.) as if they were real.
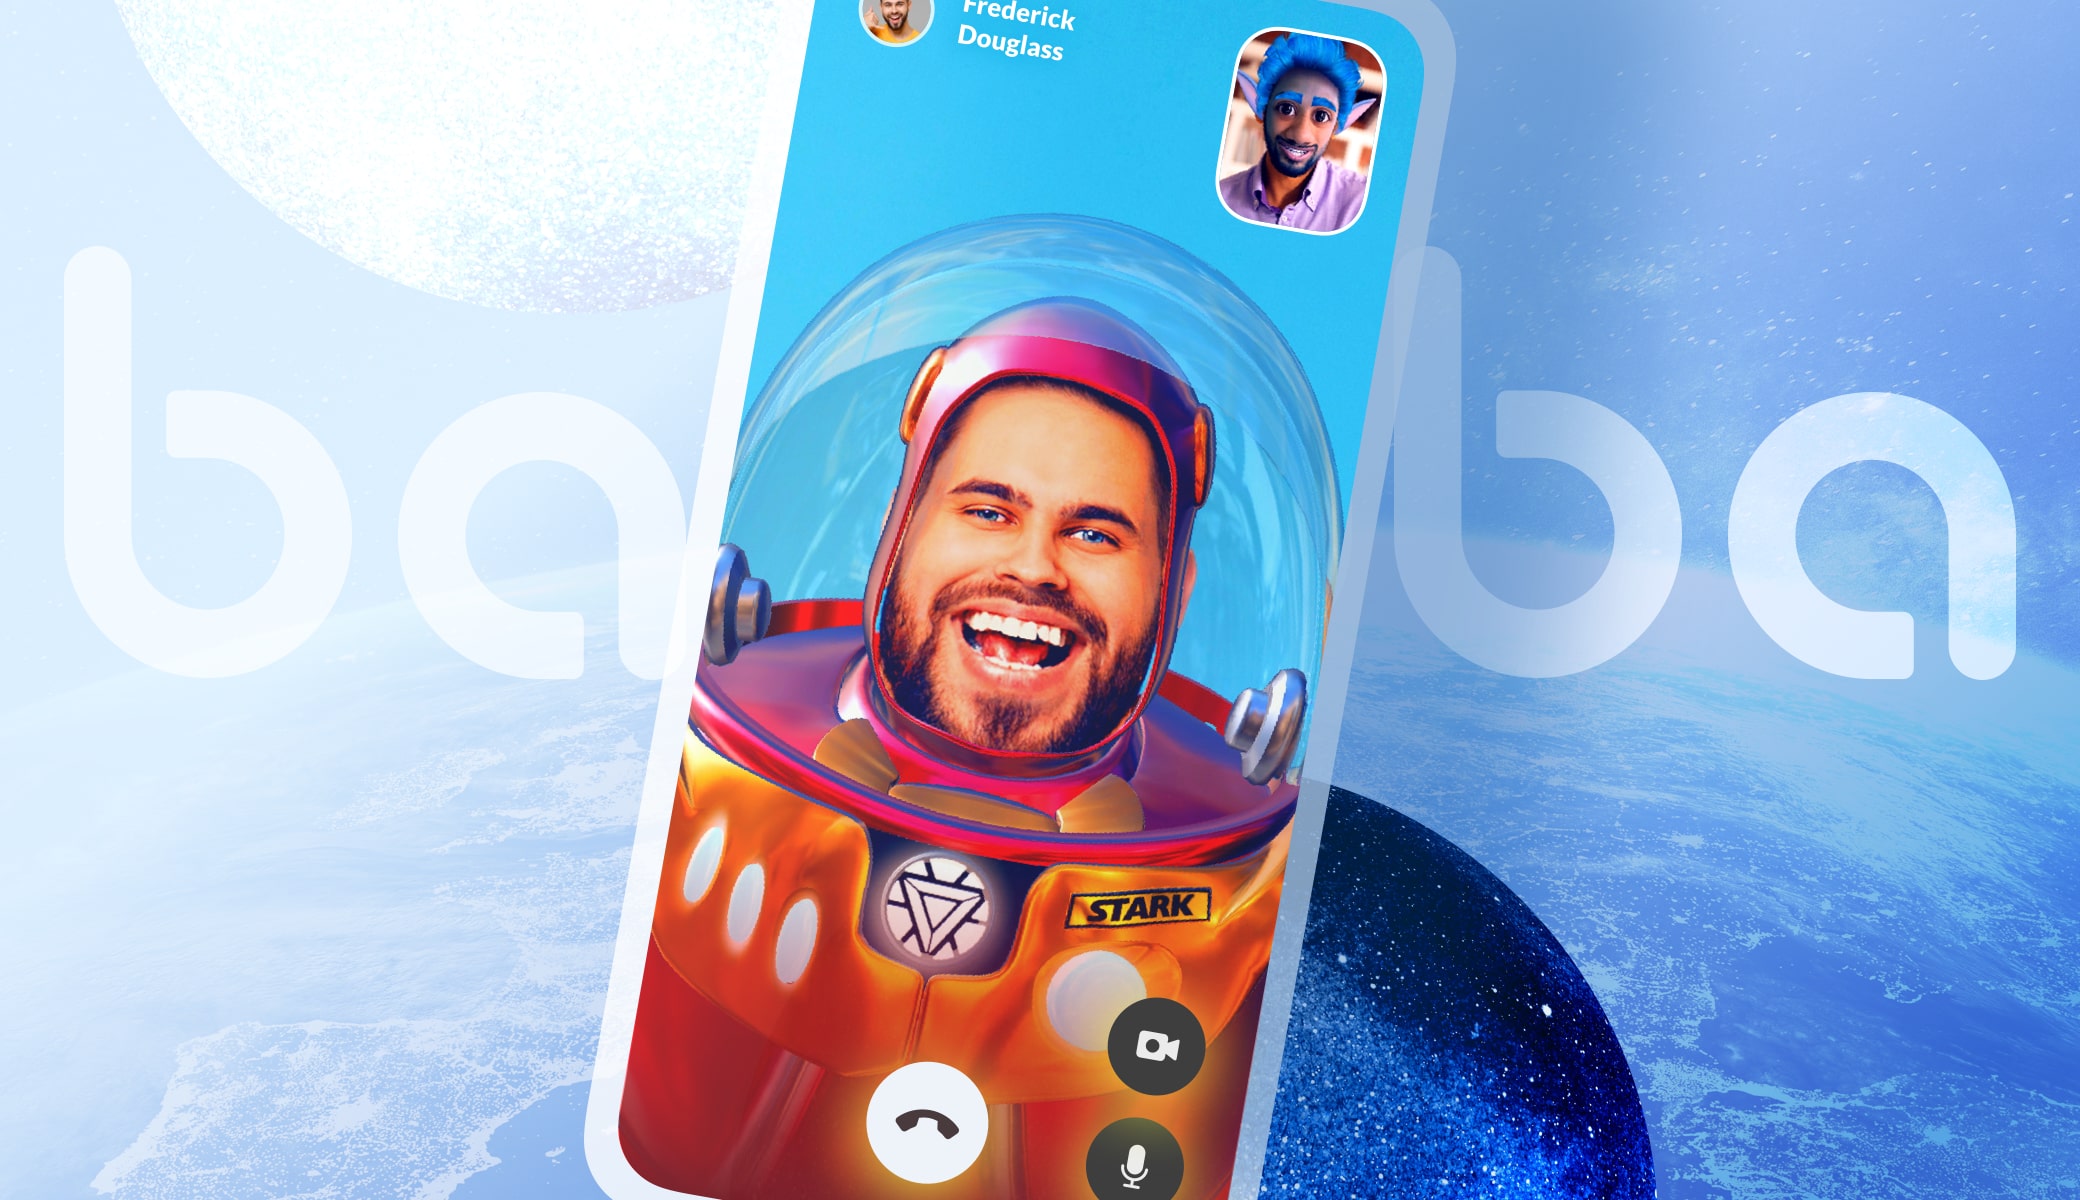
- Avatars. Replacing the user’s face with a 3D character that copies their facial expressions.
- Triggers. Animated effects that launch when the user takes a certain action (smiles, frowns, shows a “victory” hand sign, etc.).

Depending on your user base and business model, you might go for all of these React Native augmented reality face masks or just a few of them.
Use Cases
There are some apps that benefit from react native augmented reality face masks especially.
Here are they:
- Social media. TikTok, the most popular short video platform, is one of the driving forces behind the popularity of filters. But no matter your focus, react native image filters like Instagram promote the creation of viral content and increase user engagement.
- Video calling software. React native augmented reality face masks protect privacy (through background replacement) as well as add fun to casual conversations.
- Dating apps. Using filters and effects is proven to increase user retention in dating apps.
- eLearning. React Native image filters improve learning outcomes in educational apps for both children and adults.
- Photo/video editors. Various effects are now an expected feature in mobile photo and video editing apps.
- Games. Facial expressions can be used to control the flow of the game, and masks can serve for player avatar customization and reward.
How to Add React Native Camera Filters
Installation
We will use Banuba products in this example, as we are most familiar with them. Now let’s go through the React Native image filter installation process step-by-step.
1. Get the Trial Token
Before committing to a license, you can try the product for free. The trial time is 14 days.
To begin, you will need to request a token by messaging us via our contact form.

You will then get access to the token and SDK download.
The token can be either included in the app itself or stored on the Firebase. This way you won’t need to launch an update every time you request a new one (e.g. when prolonging the license later on).
It also works for the entire product line: Face AR SDK, Video Editor SDK, and AR Cloud. The latter is used to store the effects you have and let users download them as needed. This is done to decrease the app size, as a single AR mask could take 2-3 MBs of space.
2. Choose What to Install
There are two major products that you should consider: Face AR SDK and Video Editor SDK. Both give access to the React Native camera filters. However, the latter works with photo and video files, while the former supports live recording/streaming, video calls, etc. If you need both, you can install both with no trouble, as they are fully compatible.
If you want all kinds of effects in the video editor of your app, you’ll need both products. Otherwise, go for Video Editor SDK if you need clip-making functionality with Instagram filters or Face AR SDK in the rest of the cases.
Installing Video Editor SDK
Android
- Make sure variable ANDROID_SDK_ROOT is in your environment.
- Put Banuba Face AR token in resources.
- Run command npm run android to launch the sample on device or cd android && ./gradlew clean && cd .. && npm run android to clean and re-run the sample.
iOS
- Install cocoapods dependencies using commands pod init (if needed) and pod install in the ios folder.
- Put Banuba Face AR token.
- Run command npm run ios to launch the sample on the device.

Installing Face AR SDK
- Add
@banuba/react-native dependency: yarn add @banuba/react-native.
- For iOS: add a link to the native Banuba SDK into
ios/Podfile: source 'https://github.com/sdk-banuba/banuba-sdk-podspecs.git'. For Android: add our maven repository.
- Add code from
BanubaQuickstartReactNative/App.tsx into your app.
- Add
effects folder into your project. Link it with your app
- iOS: just link effects folder into
Runner XCode project (File -> Add Files to ...).
- Android: add the following code into app
build.gradle.
- For iOS: add
NSCameraUsageDescription.
Conclusion
React Native camera filters are easy to access and test. With the right SDK, they can be installed in a couple of days and will be useful in many apps.
In some cases, they are expected, in others - a helpful addition.
Either way, with React Native augmented reality face masks you can expect increased user engagement and retention. Feel free to check them out today!

