What are camera filters?
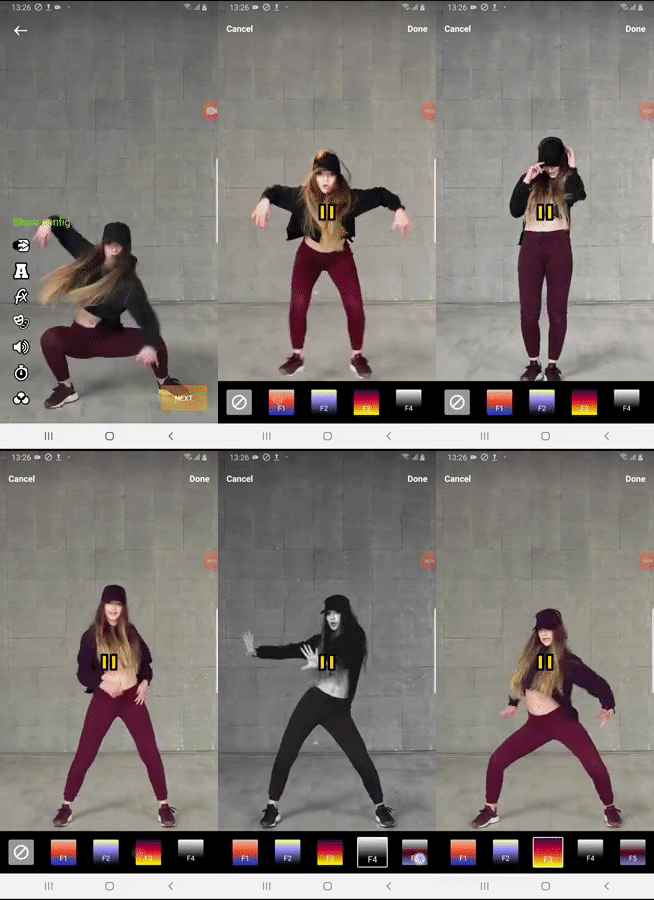
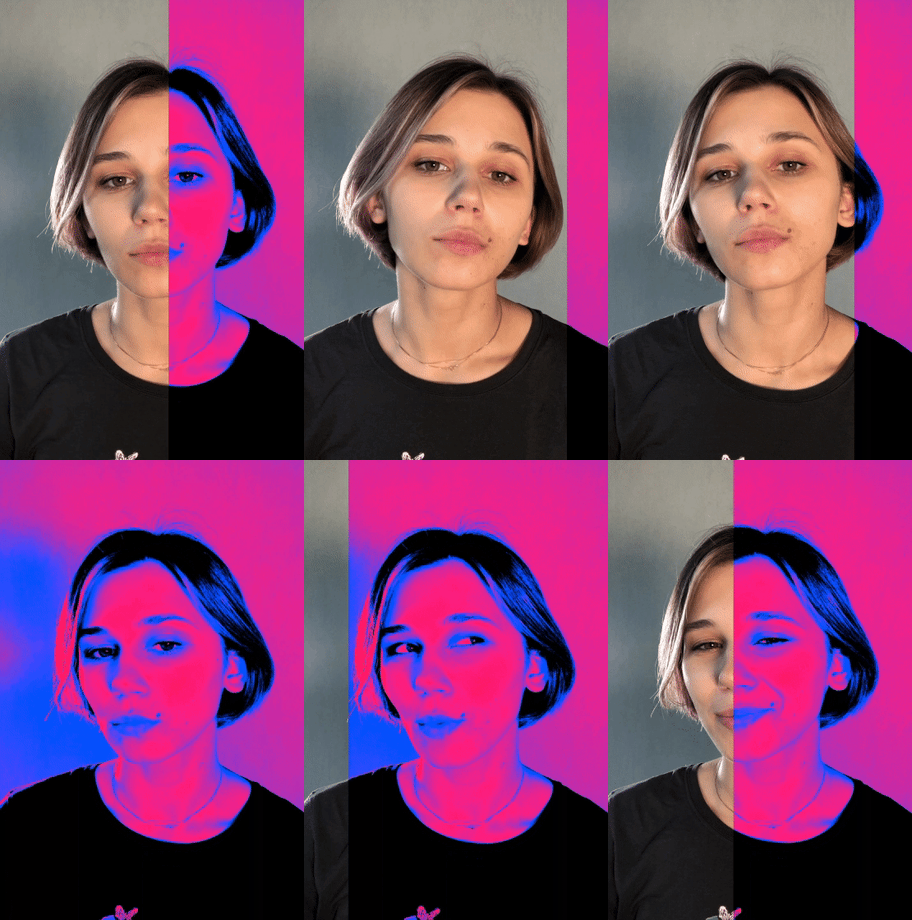
Camera filters are the full-screen effects applied to photos and videos. Other terms for them are LUTs or image color filters. Unlike face filters, they don't build on a face or have a specific position on a screen. Camera filters change the entire image. They are popular in apps like Instagram, TikTok while face filters relate to Snapchat mostly.
 Example of Image Color Filters
If you want to add camera filters into your Flutter video app, you can use the LUT pack of our Video Editor SDK. It includes 25 free camera effects - visual filters like Soul, Rave, Cathode to name but a few, and image color filters. Not limited to these, you can extend the basic kit with more filters from our Asset Store.
How to add color filters in Flutter
There are two ways you can do this, depending on your requirements. If you want to apply color filters for video editing, use the first one. If you need them for live streaming or video calling, for example, use the second one.
Video
To build a video app in Flutter, you can use our Video Editing SDK. Its full version includes a Face AR component that brings Snapchat-like face filters, background remover and camera effects. If you need just the later ones, you can use the SDK basic kit and cut out the unneeded components. The process is easy and takes a few lines of code.
- Request a Video Editor SDK by filling out the website form. You’ll get the trial version which includes all components and features. You will also get tokens - one for the video editing kit and one for Face AR.

- Upload the Flutter video editor sample from Github. Activate it by inserting the tokens.
- Run the sample using the command flutter run for iOS or Android.
Live
The first step (getting the token) is the same as in the previous approach. Just ask for Face AR SDK instead, or state what you need the filters for. We will help you determine which product fits best.
Run flutter pub get in terminal to update dependencies.
Android
- Set Banuba token in the sample app resources.
- Run
flutter run in terminal to launch the sample app on a device or launch the app in IDE i.e. Intellij, VC, etc.
iOS
- Install CocoaPods dependencies. Open ios directory and run
pod install in terminal.
- Open Signing & Capabilities tab in Target settings and select your Development Team.
- Set Banuba token in the sample app AppDelegate .
- Run
flutter run in terminal to launch the sample on a device
Why use camera filters in your video app
If you add a video editor as a part of an existing app, MVP or want to test user interest, camera filters are the go-to choice. If you want it to be more of TikTok and Snapchat, you might opt for face AR filters. When comparing these two types of video effects, we can note the advantages of camera filters.
 Banuba LUT Filter Showcase
Universal
Camera filters are simple yet powerful visual effects. They are a safe choice for any video sharing app, no matter the audience you target or the type of videos they make. You can use them in photo and video apps not to mention social sharing platforms that build on user-generated video content. With camera filters, users can touch up their videos in an instant, making them engaging for social media.
Undated
When you build a face filters app, you need to target your content to different geo and audiences. Face filters provide a more powerful first impression and easily catch attention. But you need to change them regularly to keep users engaged. Camera filters work like evergreen content in your app. They support and strengthen the user content, not make or replace it entirely, and so, their in-app life span is longer.
Smaller size
It’s essential to keep your app lightweight, and camera filters will help you cut the app size. As they go without face tracking and complex rendering animations, they are naturally smaller in size. It means that you can offer more effects to your users giving them more options to create good-looking video content.

Also Read: